|
|
Post by Richard OConnell on May 28, 2014 15:17:21 GMT -5
The arms or legs dont necessarily have to be your's you just need to find a "donor"  |
|
metiz
Senior Member
  
Joined: April 2011
Posts: 297
|
Post by metiz on May 28, 2014 16:21:19 GMT -5
Maybe you could paint a face on the crate and throw it on a train?  |
|
gidge348
Senior Member
  
Joined: September 2010
Posts: 426 
|
Post by gidge348 on May 28, 2014 21:54:31 GMT -5
Maybe you could paint a face on the crate and throw it on a train?  The train might get a bit wet going from Sweden to USA  |
|
|
|
Post by stoffe64 on May 29, 2014 15:37:14 GMT -5
Its simpel,Ernie pays the shipping of the T64 engine and Anders friend pays the shipping of the RollsRoyce engine.
|
|
|
|
Post by ernie wrenn on May 29, 2014 15:38:16 GMT -5
Bring it with you...
|
|
ozbooster
Member
 
Joined: October 2013
Posts: 28 
|
Post by ozbooster on May 29, 2014 22:21:26 GMT -5
Its not as bad as you think
costs me about $300/cubic meter to ship my stuff back an forward Australia/USA annually
work out a weight and size and ask around
|
|
|
|
Post by stoffe64 on May 30, 2014 1:18:11 GMT -5
To shop an Old cadillac from usa to Sweden costs maybe 30 000 in a container ,shipping an rollsroyce engine must cost less i guess
|
|
|
|
Post by Johansson on May 30, 2014 6:23:06 GMT -5
It looks like he needs the spare engine for now, in case his race engine fails he needs a quick replacement so he won´t miss the race season. I´ll get back to you Ernie if he sells the tractor or gets his hands on another spare engine.
|
|
|
|
Post by Johansson on May 30, 2014 15:15:13 GMT -5
Back from the motor exhibition with a bucket full of inspiration I cleaned out at least 50 kg of grinding dust, scrap metal and other bits and pieces to make plenty of room for the turbine bike, I nailed some stuff from the exhibition on the workshop wall as well to make it a bit cosier. 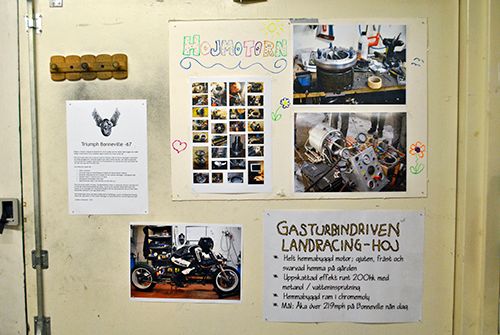 Time to get the bike on the road! I took the fairings off and disassembled the fork legs to fill them with the fork fluid I didn´t remember to put in them during assembly, I also fitted the brakes. 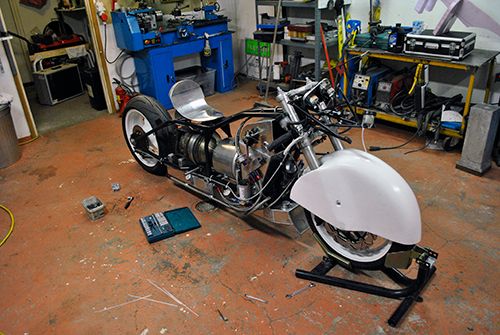 Here is a scetch of the upcoming wiring, I will wire it temporarily and once I know that everything works the way I want it to I´ll do it properly. Lots of time for such things after the summer has passed, now I just want to get the bike up and running. 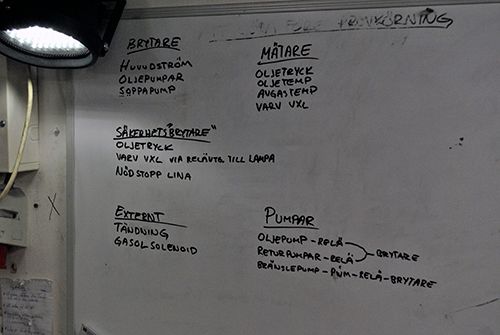 Cheers! /Anders |
|
|
|
Post by racket on May 30, 2014 17:39:45 GMT -5
Hi Anders
A bit of extra inspiration from the Show is certainly going to help finish off the build, not far to go now :-)
Time to throw your leg over her and have a ride .
Cheers
John
|
|
|
|
Post by Johansson on Jun 1, 2014 15:23:36 GMT -5
You bet, John!  Last night I started working on the pile of stuff to do before the bike is ready to go for a ride, the job on top of that pile happened to be the dashboard. 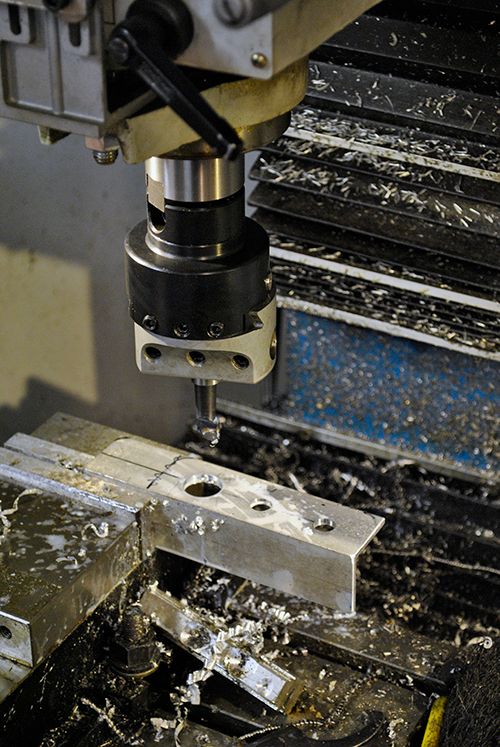 The uppermost contact is a Neutrik contact for an external ignition, it has four leads so I can route 12V from the bike to the ignition module in two of them and use the other pair for the spark. Below it is a spring loaded button for the propane preheat solenoid, then you see the fuel pump switch and the switch for all three oil pumps with a safely cap so I don´t accidentally turn the pumps off. 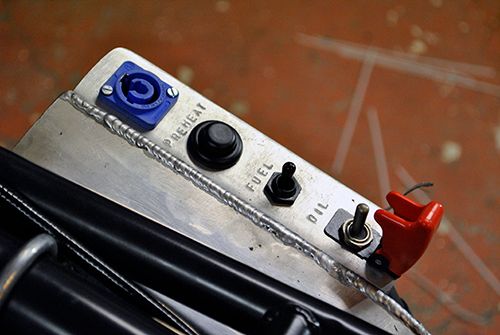 Both fuel pump and the oil pumps will get their juice through separate 30A relays to avoid a switch failure like last time. 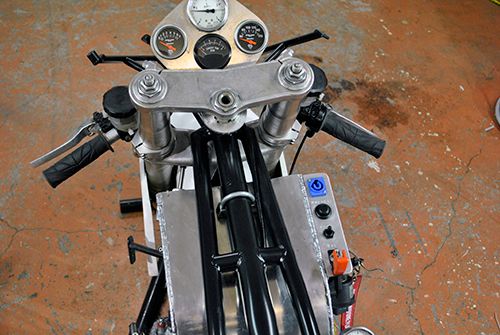 With that done I fitted the PWM-module to the air box. 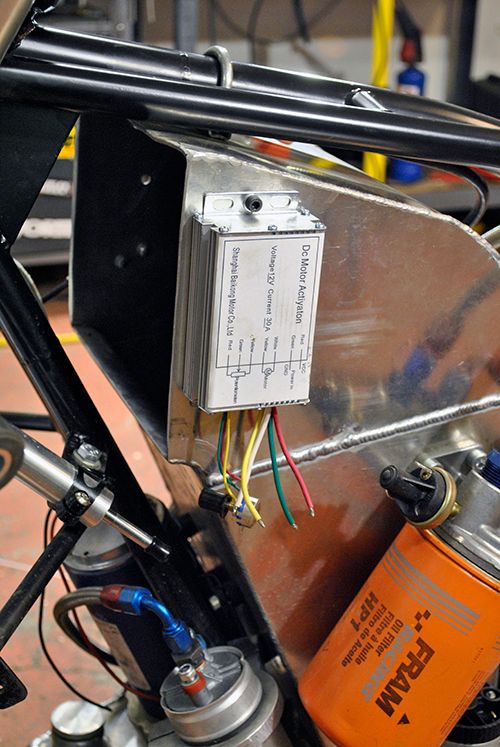 Up next was the power turbine rev counter, the idea was to fit a magnet to the gearbox output shaft where the front sprocket is and have a inductive probe read the revs from it. 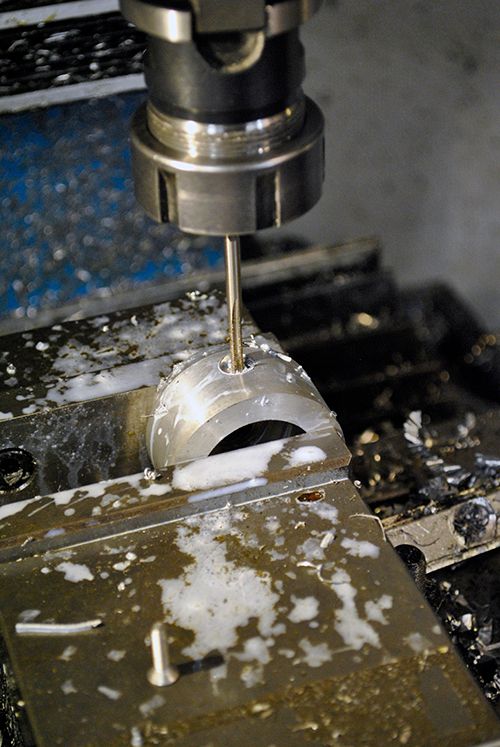 Here a neodymium magnet is fitted, now I need a bracket for the probe. 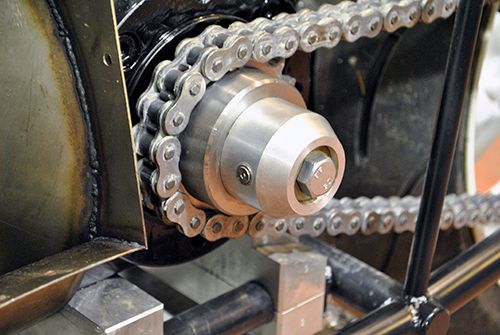 That´ll do!  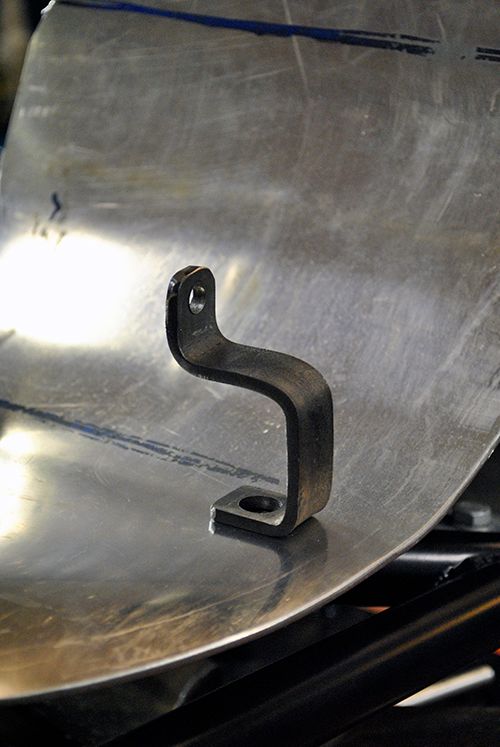 Probe fitted and eagerly awaiting some revs to measure! 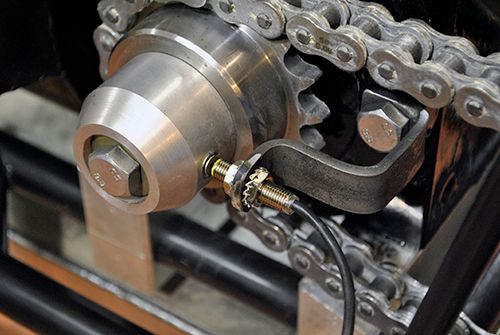 Of course I had to fit the actual rev counter somewhere as well, I was about to make a fancy box for it but figured nahhhh and used a cat-strangler (local name for zip-ties) instead. Eventually I need to shield it from salt and water so I´ll probably make some sort of box for it later. 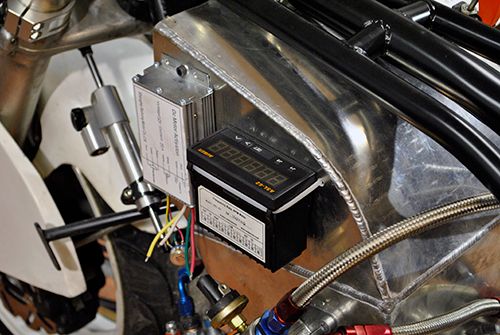 The clock showed well past midnight so before calling it a night I fitted a row of relays to the back of the seat, that was the only place where I could fit them and have the bundle of cables below them out of the way. 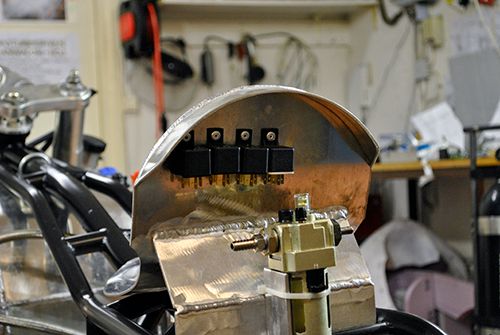 Cheers! /Anders |
|
|
|
Post by turbochris on Jun 1, 2014 16:16:22 GMT -5
cat strangler.. ha ha ha hahahahaha good one!
|
|
Deleted
Joined: January 1970
Posts: 0
|
Post by Deleted on Jun 2, 2014 1:25:57 GMT -5
Hi,
just a note on your speed controller, a few of us have used the one you have, they work well but we have found it better to isolate them form the chassis, I normally just use nylon bolts, putting a bolt through and a nut at the back to act as a shim, then another nut to hold it all on
Looking real good as always
|
|
|
|
Post by Johansson on Jun 2, 2014 2:03:16 GMT -5
Hi Andy,
Why do they need to be isolated from the chassis? Won´t they work properly if the cover is grounded?
|
|
Deleted
Joined: January 1970
Posts: 0
|
Post by Deleted on Jun 2, 2014 2:52:10 GMT -5
Hi
not sure, something to do with how they are switched ? some have had problems, but just found it better not to risk problems, they work fine, just thought I would mention it
|
|