|
|
Post by stoffe64 on Oct 28, 2019 10:17:39 GMT -5
Very Nice engine indeed!
Congratulations on a job well done
Cheers/Stephan
|
|
duncan
Junior Member

Joined: December 2014
Posts: 68 
|
Post by duncan on Oct 30, 2019 7:33:12 GMT -5
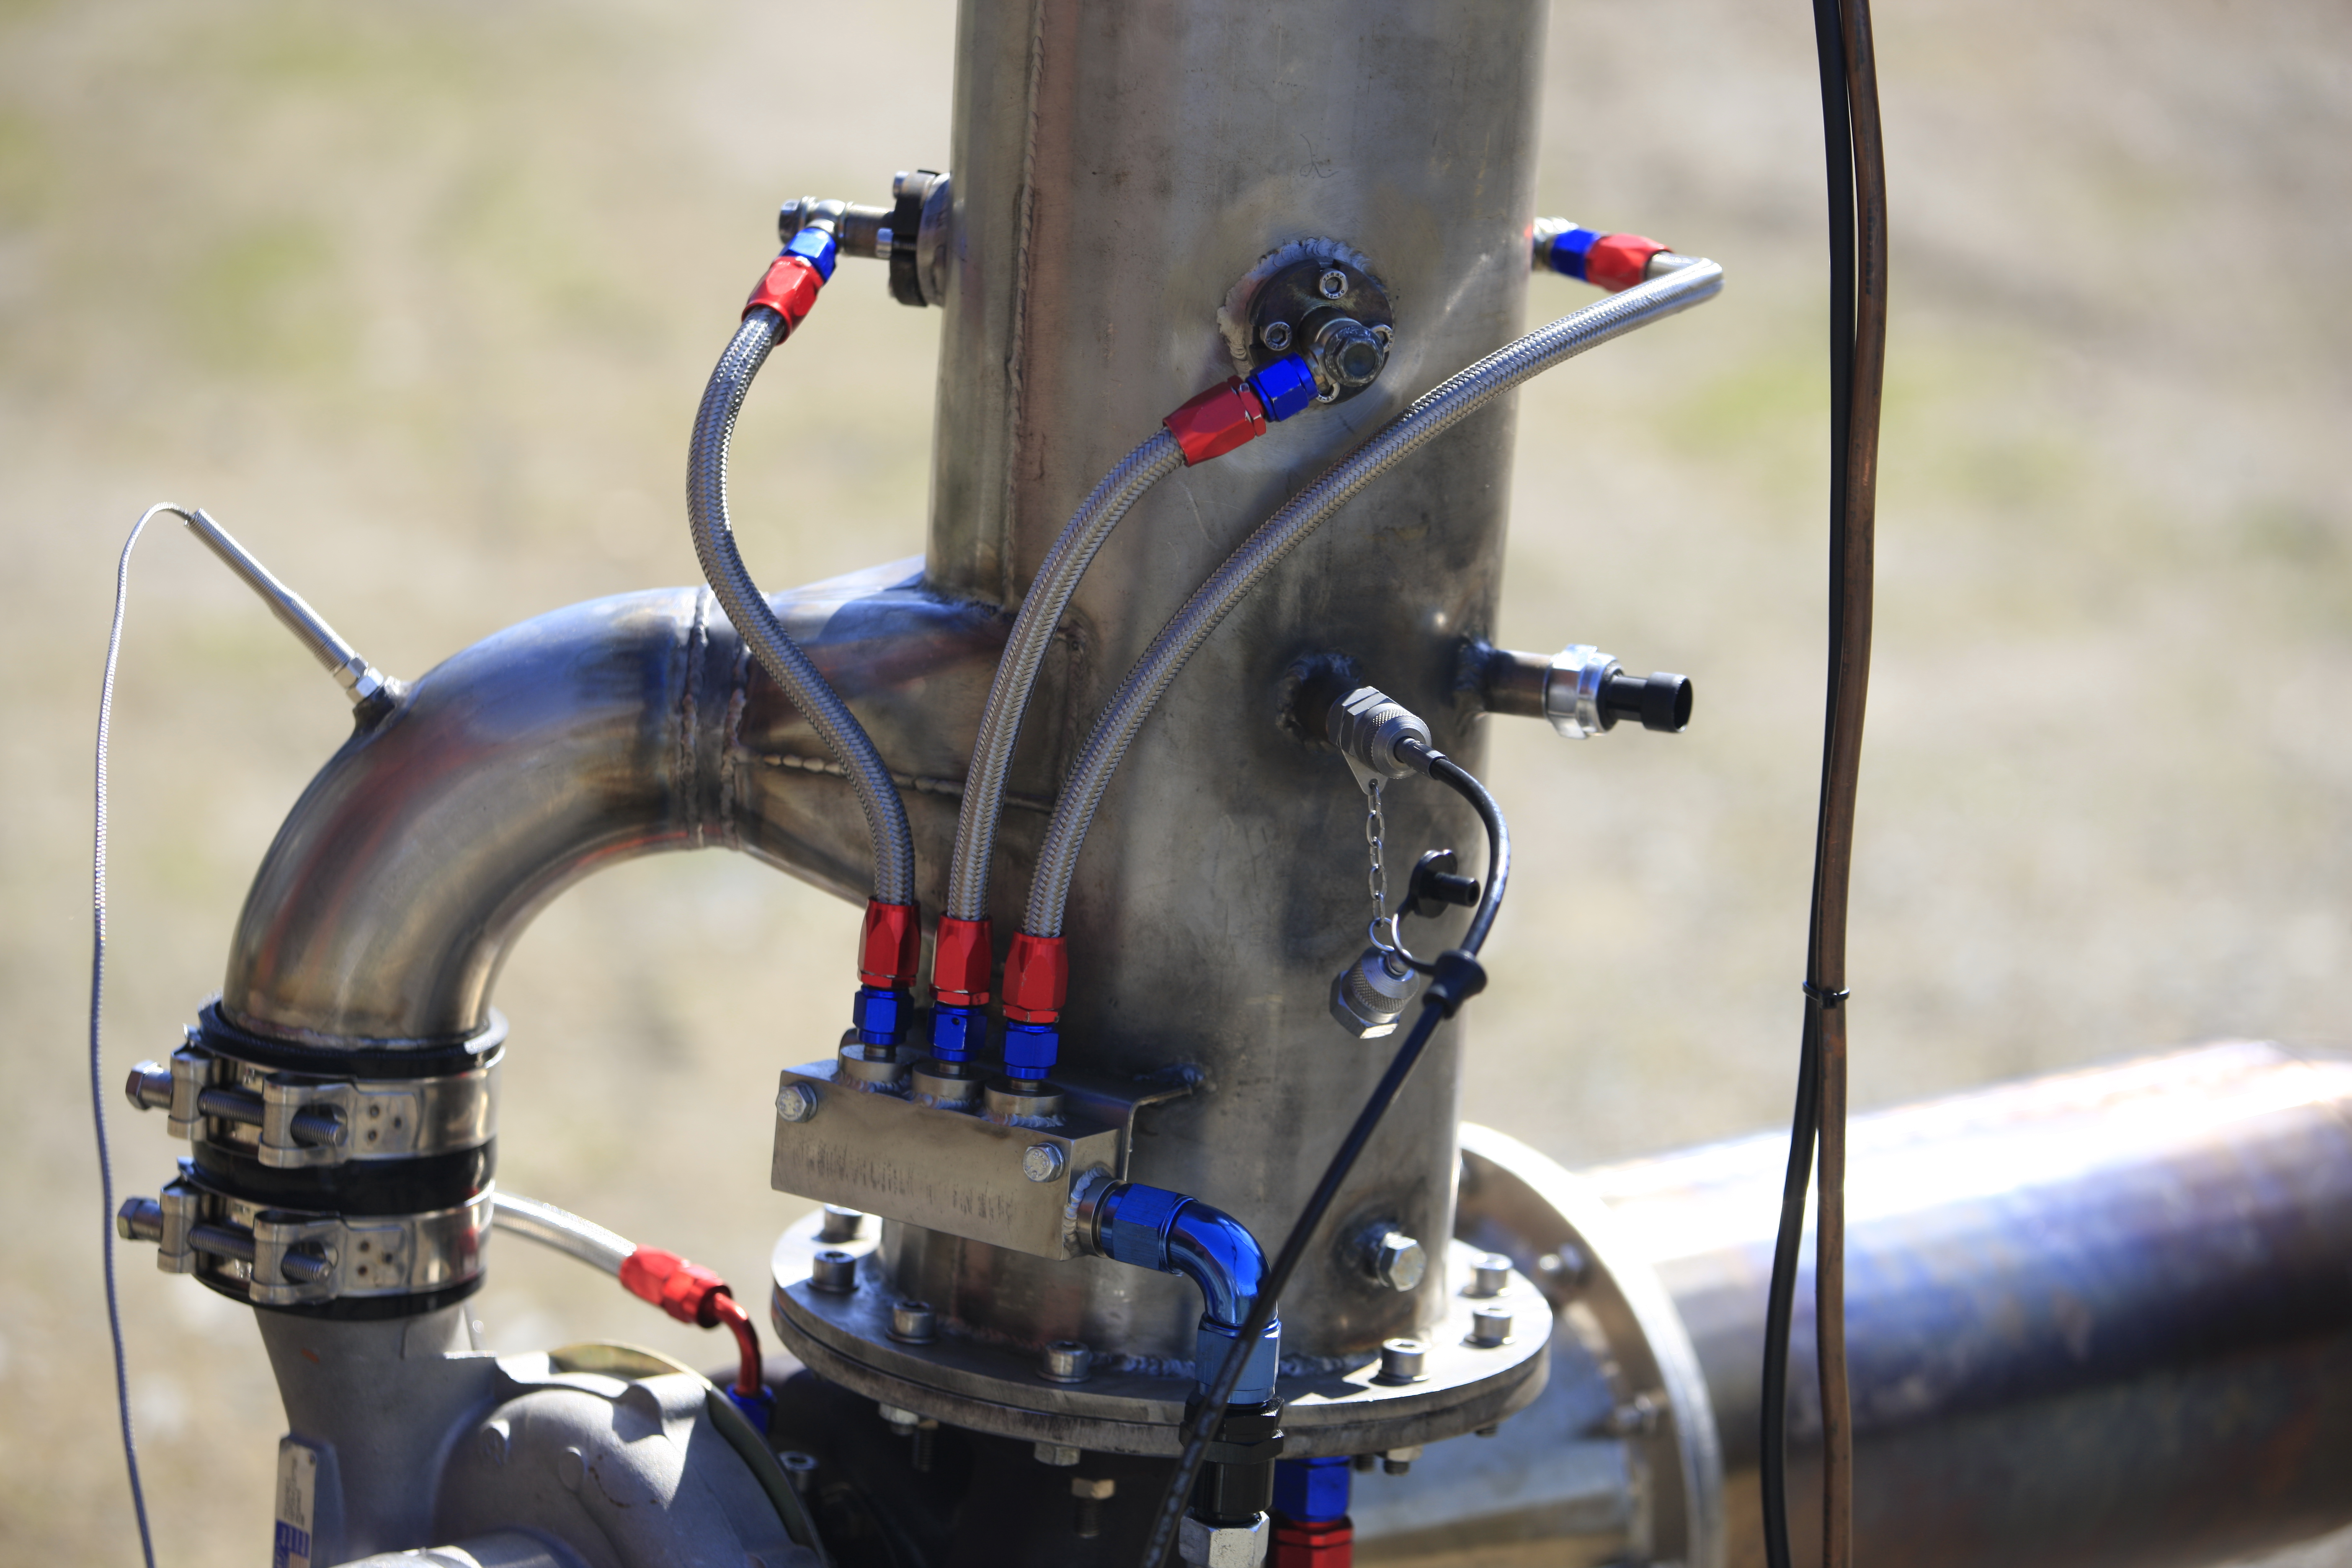
I have followed you since the beginning, nice work! what a beautiful engine! Thank you! I enjoy being anal with the little stuff!! Thanks for your interest & following.
DD
|
|
duncan
Junior Member
Joined: December 2014
Posts: 68
|
Post by duncan on Oct 30, 2019 7:36:19 GMT -5
Very Nice engine indeed! Congratulations on a job well done Cheers/Stephan Thank you, Stephan, I have enjoyed the work. I hope to further 'improve' my system & experiment a bit with her as a continuation of the project.
DD
|
|
duncan
Junior Member
Joined: December 2014
Posts: 68
|
Post by duncan on Oct 30, 2019 7:38:19 GMT -5
Hi duncan, I look forward to seeing your video. I need to get mine running...I was going to use it to blow the snow off the driveway! Ha! ~ Chris Hey Chris, I finally got the J44 going again after overhaul! Videos on You Tube, my channel, "Darren Duncan".
DD
|
|
jasonr
Member
Joined: October 2019
Posts: 28
|
Post by jasonr on Oct 31, 2019 8:59:58 GMT -5
Hey guys I'm new here as well, I'm going to look at a j44 tomorrow and was wondering if you guys have any advice for inspection and if there are any parts people have available on this forum, I'm not sure the model number but will find out. Thanks Jason Here is a picture  |
|
|
|
Post by finiteparts on Nov 9, 2019 16:43:31 GMT -5
Hi duncan, I look forward to seeing your video. I need to get mine running...I was going to use it to blow the snow off the driveway! Ha! ~ Chris Hey Chris, I finally got the J44 going again after overhaul! Videos on You Tube, my channel, "Darren Duncan".
DD
Hi Darren, I have been watching your videos. Great work. I am glad to see it running again! Thanks for sharing it with us. Chris |
|
|
|
Post by finiteparts on Nov 10, 2019 15:31:36 GMT -5
Darren,
I had forget to respond to you in the past, when you posted up a bunch of pictures on the build. In one of the pictures it looks like you have marked the bolt holes on the turbine wheel, which I assume was to track your torquing of the nuts. The comment that I wanted to make is that you should never use a pencil or a black sharpie to make "hot" engine components. The carbon from the marking can migrate to the metal and cause cracking. Many turbine shops do not even allow them in the building. Hopefully, you removed the marking with something before running the engine. Newer turbine engine manuals call this out, but the old J44 manual may not.
Good luck,
Chris
|
|
duncan
Junior Member
Joined: December 2014
Posts: 68
|
Post by duncan on Dec 25, 2019 10:57:50 GMT -5
Hi Chris, the Sharpie markings (I only use pencils for math & marking on walls!) are to make sure each differently weighted bolt is in its proper location! There are 10 bolts, so I just started with the locator dowel pin & numbered them clockwise before removing them for the final assembly of the engine. The rotor assembly was shipped back to me assembled. Fairchild produced the turbine bolts in 10 different weights, with a -x number (IE -3 or -6, etc.) at the end of the part number, indicating the weight of each. They are chosen during the balancing procedure & nothing will change unless the rotor is disassembled & a component is changed, requiring re-balancing. I used solvent to remove the ink once assembled. My engine used about 4 different weights in combination to achieve final (well in specs!) balance! If you disassemble one of these, you had better mark & record each fastener's location or you will destroy the balance, causing you a trip to Mr. Balancer! Since I had to replace my turbine rotor, I had to have the rotating assembly balanced by a jet shop, so I definitely did not want to screw that up. Thanks for the concern & advice. All who read this be advised!
|
|