gidge348
Senior Member
  
Joined: September 2010
Posts: 426 
|
Post by gidge348 on Apr 1, 2014 23:02:37 GMT -5
I wish I lived closer to the salt so I could get a bit of seat time on an ordinary bike before I take this one out there, lucky you!  Hi Anders, Lake Gairdner is still a fair way from where I live (2400kms about 2 1/2 days drive) roughly the same as Stockholm to Rome.  Most of the way nothing but dust, roo's, emu's.....and more dust  . Bike riding position looks good, there is one thing you may want to look at, that having some way to adjust foot peg and seat positions front and back. Phil found moving this made quite a difference to stability and traction moving a few inches either way..... Just a thought, but looking great cant wait till to see it run. Already looking to be at Bonneville 2015. Cheers Ian... |
|
|
|
Post by Johansson on Apr 5, 2014 9:06:03 GMT -5
Hi Ian, I forgot about the size of your country, 2400km is a bit of a drive...  Good idea about the adjustable footpegs, I´ll try to figure something out. I took the fork legs apart this thursday to figure out how to shorten them and fit new dust seals. 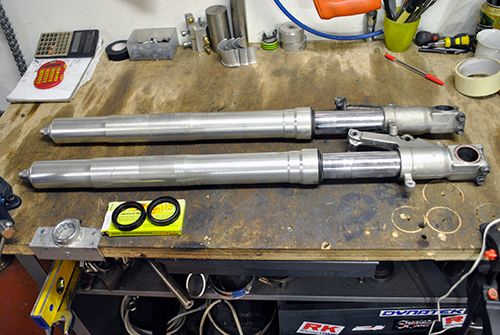 I also cleaned up the workshop for two hours, it was well overdue and probably doubled the usable floor area. Not to mention the work benches who had piles of stuff on them, if I added one thing on one side of the bench another thing fell of at the opposite side..... To disassemble the forks I had to make a spring compressor, I had a pair of old home made ones but from the looks of them it would be labeled suicide attempt to use them.  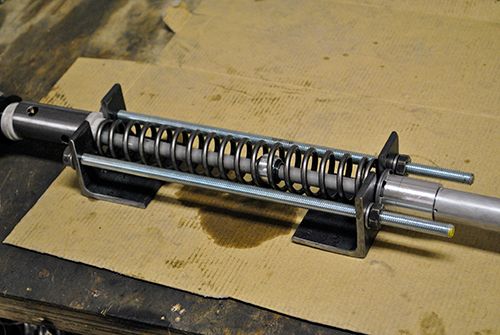 Cheers! /Anders |
|
|
|
Post by Johansson on Apr 10, 2014 16:07:09 GMT -5
I´ve been busy with other stuff this week but now I have four days for myself since my family is away visiting my mother-in-law, expect daily updates this weekend in other words!  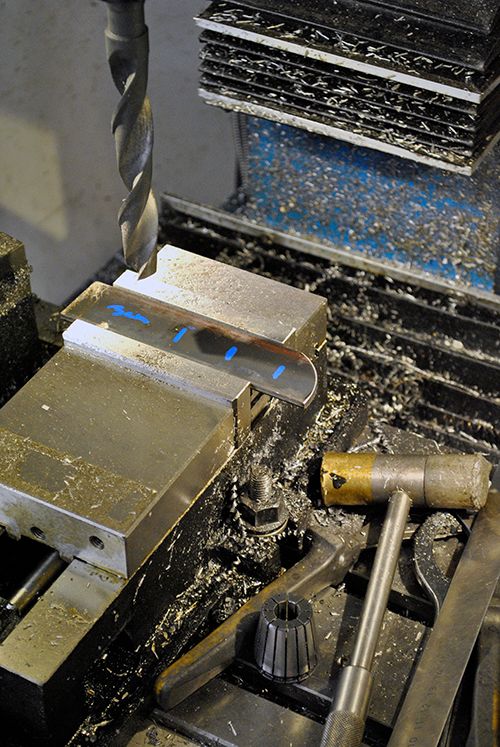 My plan for tonight was to make the footpegs, adjustable ones preferably so I can find a decent riding position. 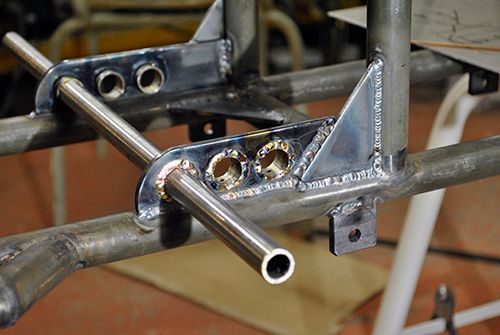 This pin will lock the footpegs in place so they won´t rotate or move sideways, don´t want them to fall out at >200km/h... 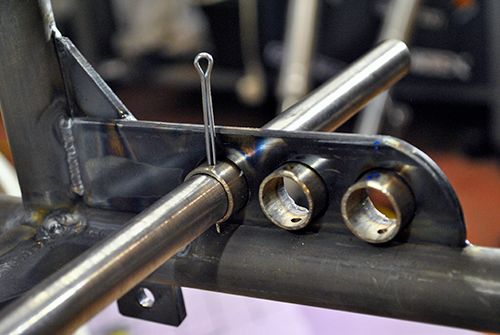 With that sorted I started working on the seat, earlier this week I cut out a rough template which I now transfered to a sheet of aluminum. 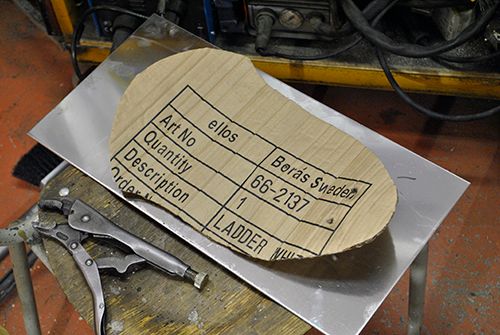 The aluminum sheet got a 90° radius so that I can have something to rest my behind against. 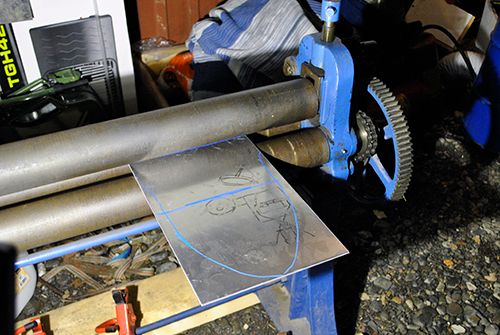 Hmm, this doesen´t look cosy at all. What if I cut some material away? 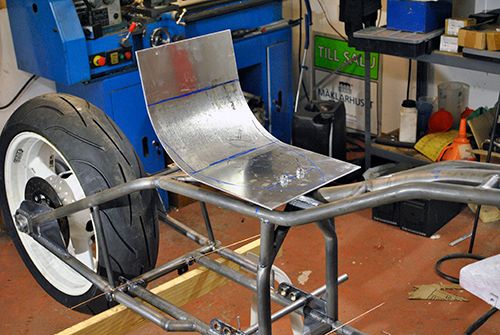 Now we are getting somewhere! I started making the rear mount for the seat which is secured with the same bolts that hold the battery box. 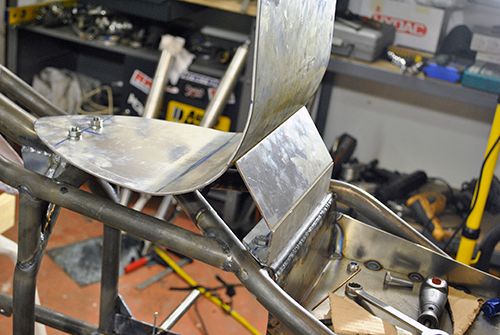 I could have welded the mount tonight if this familiar sight hadn´t met me when I looked at the argon regulator.... 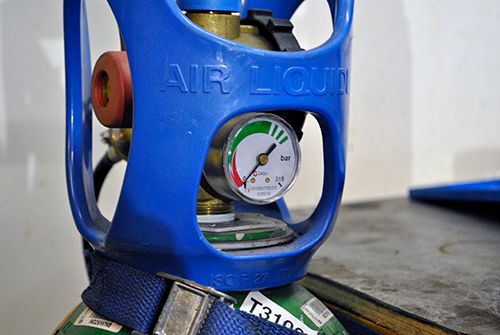 No biggie, I´ll fill the argon bottle after work tomorrow and get back at it. Cheers! /Anders |
|
gidge348
Senior Member
  
Joined: September 2010
Posts: 426 
|
Post by gidge348 on Apr 10, 2014 20:32:27 GMT -5
Looking good Anders, well thought out, simple and executed as usual.
Are you going to make the seat adjustable?
Phil's bike has a set of foot pegs at the rear near the rear axel so he can get a face down flat profile, but I guess on your bike clearing the exhaust would be a problem.
Cheers Ian...
|
|
|
|
Post by Johansson on Apr 10, 2014 23:04:40 GMT -5
Hi Ian, Thanks!  If I could I would but since the rear fairing will be bolted to the seat it must be fixed in the frame. My bike has a very street like stance for the rider but as you say the jet exhaust prevents me from having any part of my body further back than this. Cheers! /Anders |
|
|
|
Post by Johansson on Apr 11, 2014 16:05:20 GMT -5
Well Ian, the footpegs weren´t as thoroughly thought out as I had hoped. I had a bad feeling this morning so I went to the shed before going to work and test fitted the engine, and just like I suspected the inter turbine section hit the footpeg. No big deal though, I rebuilt them after work and it turned out like this. 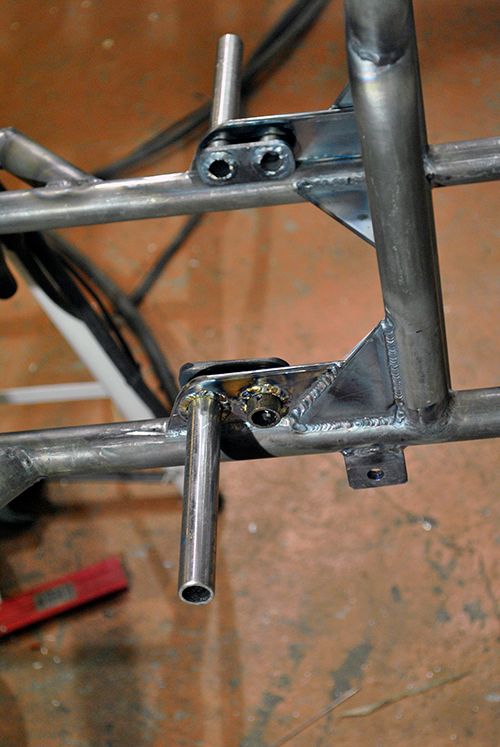 I had to remove the position furthest back but it feels perfectly ok the way they are now, switching them upside down makes them fit the front position as you can see. 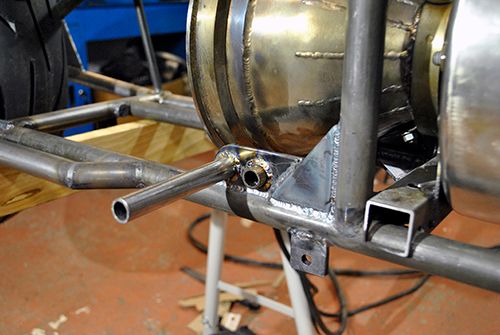 With that hiccup taken care of I continued with the seat now that I had a full bottle of Argon again, I welded the rear mount and added a central support plate so it won´t flex and eventually crack the welds. 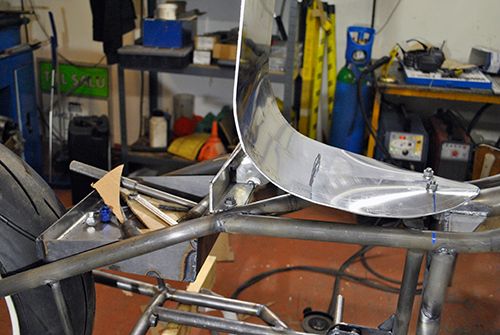 Finding the right profile for the back of the seat required some *cough* advanced 3D rendering.  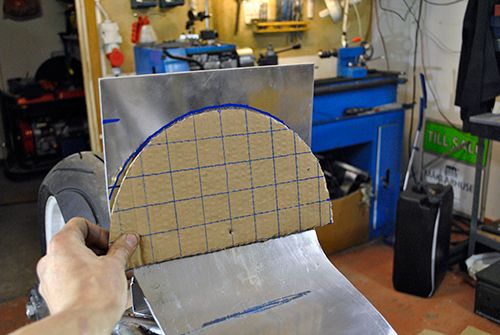 With the radius cut out I made an edge on the slip rollers where the rear fairing will start. 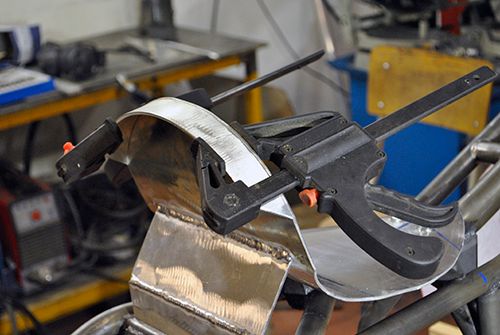 Welded. 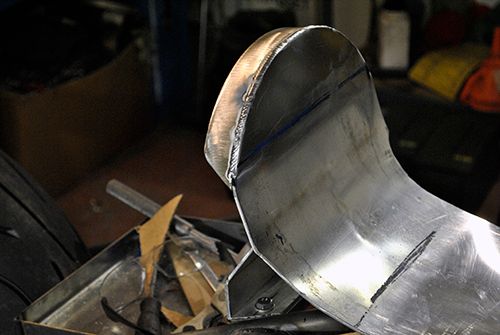 As you can see I have made some ergonomical alterations to the seat (bashed it a few times with a rubber hammer) so now it is very comfortable to sit on, a 10mm thick sheet of foam used for race track bike seats arrived today so the pair of nuts on the front mount won´t rub against my own pair.  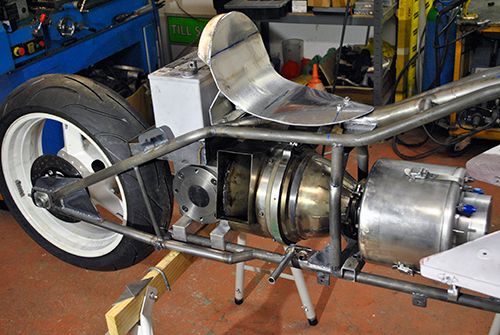 Another angle, everything seems to fit like it should so I am satisfied. I have used the 100cm scale to get a feeling on how to profile the rear fairing and if I can make it the way I want it will look pretty sweet. 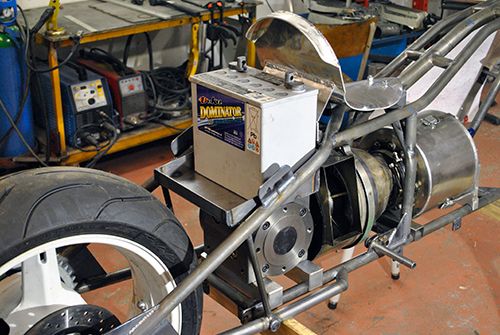 Cheers! /Anders |
|
|
|
Post by Johansson on Apr 12, 2014 14:22:44 GMT -5
The frame is sanded down and ready for being taken to the painter tomorrow! Another mile stone for this project!  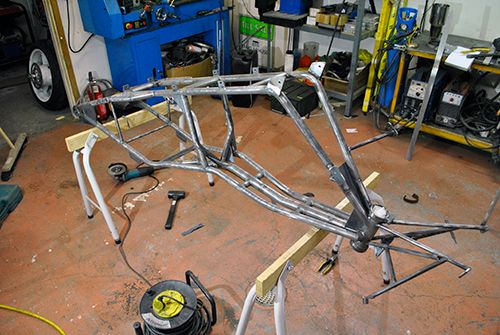 Cheers! /Anders |
|
metiz
Senior Member
  
Joined: April 2011
Posts: 297
|
Post by metiz on Apr 12, 2014 14:46:42 GMT -5
Good job! What color is it going to be?
|
|
|
|
Post by Johansson on Apr 12, 2014 15:45:31 GMT -5
Good job! What color is it going to be? The frame will be a semi-dull black, the particular paint used is told to be very resistant to scratches which is good. The fairings will be some kind of white and the aluminum tanks and air intake will be kept unpainted for now. |
|
gidge348
Senior Member
  
Joined: September 2010
Posts: 426 
|
Post by gidge348 on Apr 12, 2014 22:59:29 GMT -5
Oh Well, some times bits need to go where they need to go....
With the colour, I am not sure how SCTA rules deal with that, but at Lake Gairdner they ask us to avoid white and silver (aluminium) colours as they are hard to see from a distance on the salt while traveling quick.
2.K APPEARANCE:
All vehicles entered in an event shall be maintained so as to present a neat appearance. All white, silver,
or unpainted vehicles shall show a contrasting color on the body. All owners, drivers, and crews are
responsible ...........
|
|
|
|
Post by Johansson on Apr 13, 2014 2:24:30 GMT -5
Good pointer Ian, might have to rethink the white part when it is time to go salt racing. Until then I´ll go white since I think it will look neat, the guys at Landracing.com will have time to get a good view of the appearance so hopefully I will get a thumbs up or down well before I start packing my underwear for a Bonneville trip.  |
|
|
|
Post by Johansson on Apr 14, 2014 16:21:07 GMT -5
I just got this pic from the painter, he is painting the frame right now so I should be able to pick it up in a few days. Can´t wait to see the result!  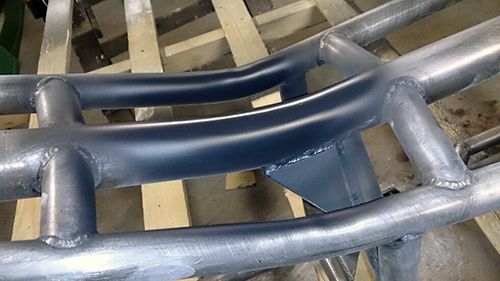 |
|
|
|
Post by Johansson on Apr 15, 2014 15:07:48 GMT -5
Picked up the frame an hour ago, it looks very good! 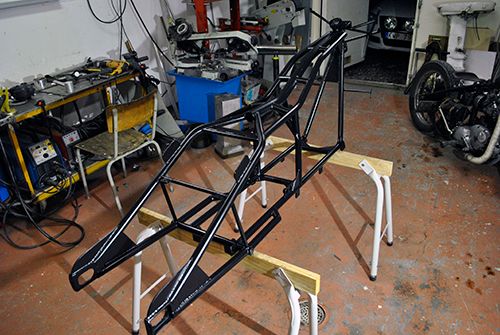 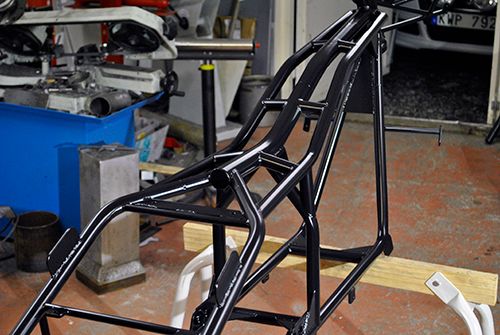 Cheers! /Anders |
|
Deleted
Joined: January 1970
Posts: 0
|
Post by Deleted on Apr 15, 2014 16:13:17 GMT -5
Looking Nice mate..... looking forward to seeing it all together and running
|
|
|
|
Post by Johansson on Apr 17, 2014 12:19:49 GMT -5
Thanks Andy! The ceramic bearings for the wheels and gearbox arrived today, but now it is easter holiday and three cosy days at my parents place with the families of myself and my brother so I´ll deal with the bearings next week. 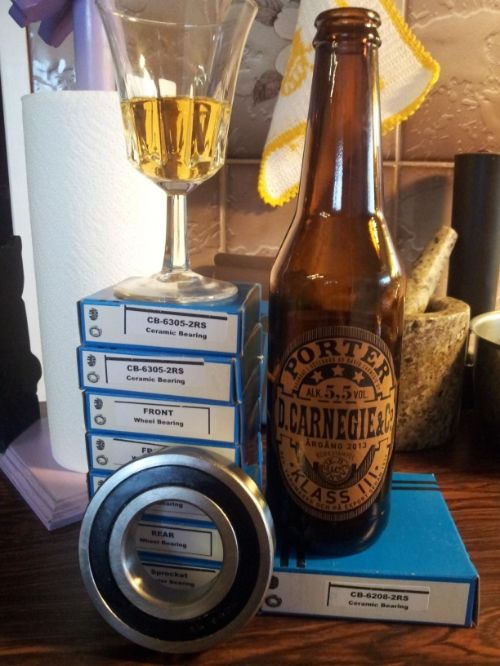 Cheers and happy holiday!!!!! /Anders |
|