|
|
Post by Johansson on Aug 8, 2013 16:43:57 GMT -5
Damnit John, now I just HAVE to run it before the winter arrives! I will up the pace if possible and cut some corners to save time, the rest can be done during the winter.  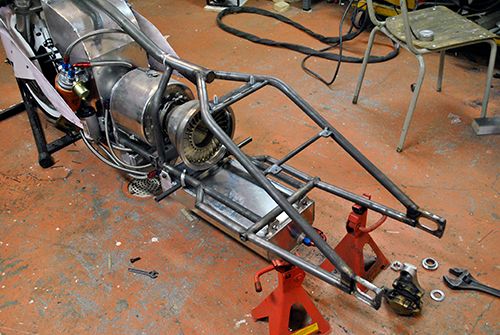 I removed the power turbine section to finish some stuff left undone earlier, I also think I will skip the dry sump and directed oil jets for now and fit them later. I cannot imagine that the bearings will suffer any damage from a short low speed run with oil in the gearbox. 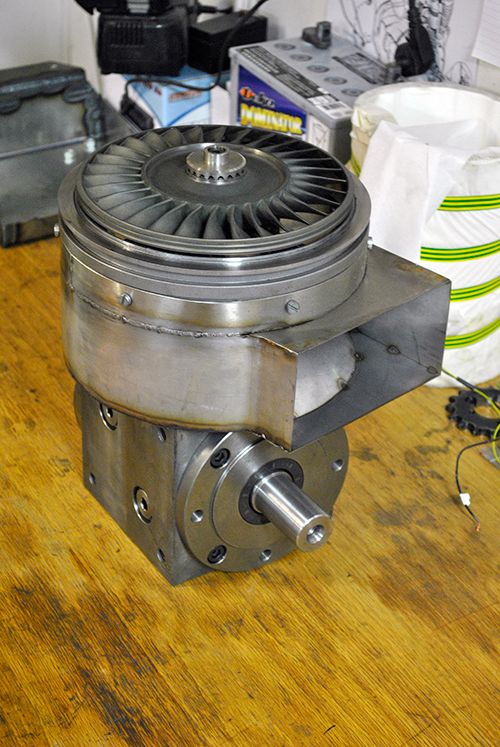 A graphite seal will be fitted in front of the first shaft bearing to keep heat from the bearing and oil from pouring into the turbine housing, in the pic I am removing the turbine wheel shaft spacer to access the space where the seal will be. 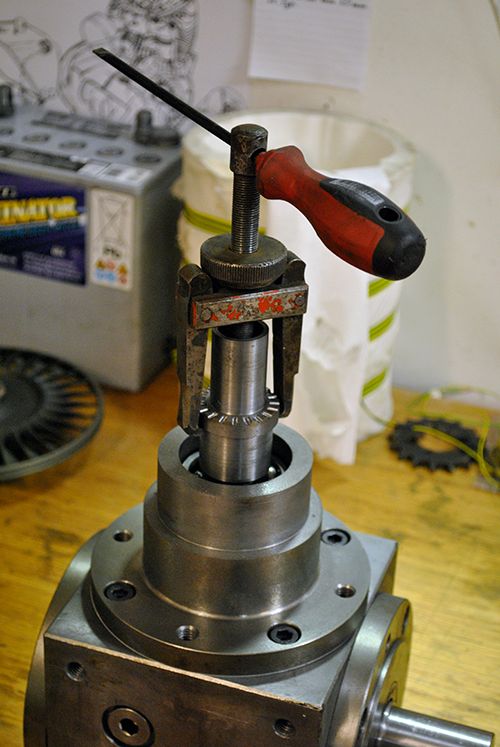 After that I started doing what I had planned for the evening, to align the rear wheel and make spacers for the rear axle. 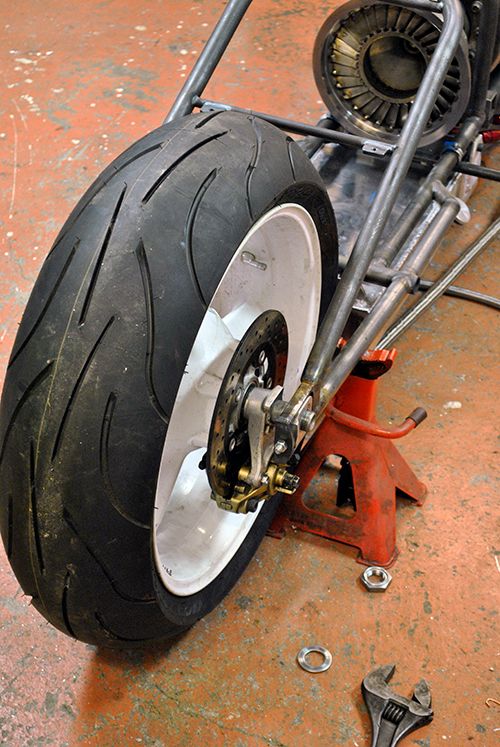 The right side spacer being arbored in the mill. 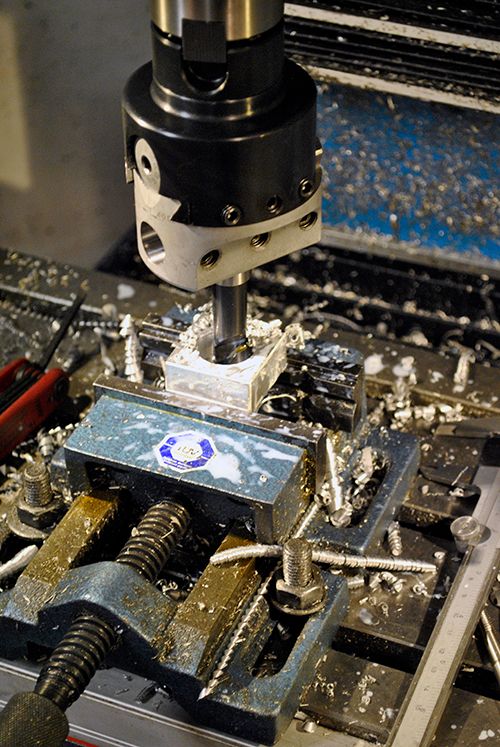 And here it is in place, I found a suitable piece of aluminum for the left side spacer but called it a night since I was kind of tired.  Cheers! /Anders |
|
gidge348
Senior Member

Joined: September 2010
Posts: 426 
|
Post by gidge348 on Aug 8, 2013 22:43:51 GMT -5
Great work Anders can't wait for the YouTube clip of you tearing up the road (or salt???) on this beauty.
|
|
|
|
Post by Johansson on Aug 9, 2013 7:16:02 GMT -5
Thanks! Can´t wait either. |
|
|
|
Post by turbochris on Aug 9, 2013 7:34:40 GMT -5
good looking and easy to work on! There's not enough room there to run that thing, come here.
|
|
|
|
Post by Johansson on Aug 9, 2013 9:44:07 GMT -5
Yup, easy teardowns have been on my mind from day one since I assume it will break down when I least want it to. Where exactly do you live? I thought you were British first but you seem to visit Ernie way to often for that. |
|
|
|
Post by Johansson on Aug 12, 2013 14:53:29 GMT -5
To sort things out a bit I wrote down all the different things that needs to be done before the bike is ready to run, it might look a lot but mostly they are minor jobs that can be done 2-3 of each workshop pass. Sorry for the crappy language. 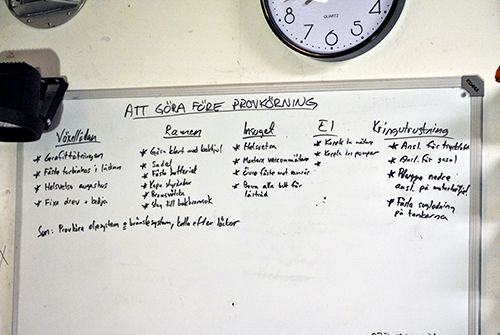 After that I made the last wheel spacer so now the rear wheel is aligned and freely spinning.  Everything in place! 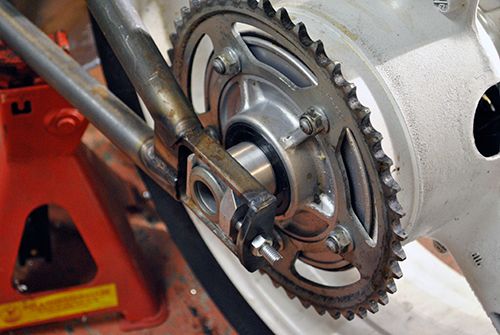 That was a couple of days ago, today I found an hour after the kids went to sleep and started working on the gearbox. I needed to make 6 M8 threaded holes so I could bolt the freepower housing and gearbox together. If I hadn´t drilled some of the freepower housing holes slightly wrong 6 months ago I could have done just that, now I need to grind them a bit for all six bolts to fit. 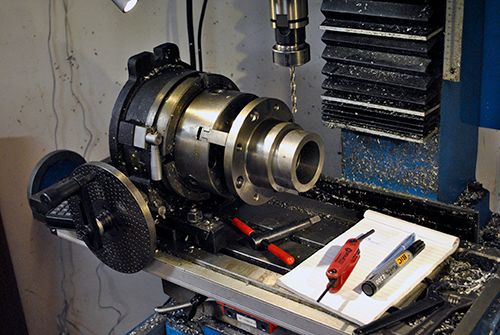 Threading the shaft tunnel, cast iron is a bit strange to work with since it doesen´t produce swarfs like ordinary steel but rather dust... 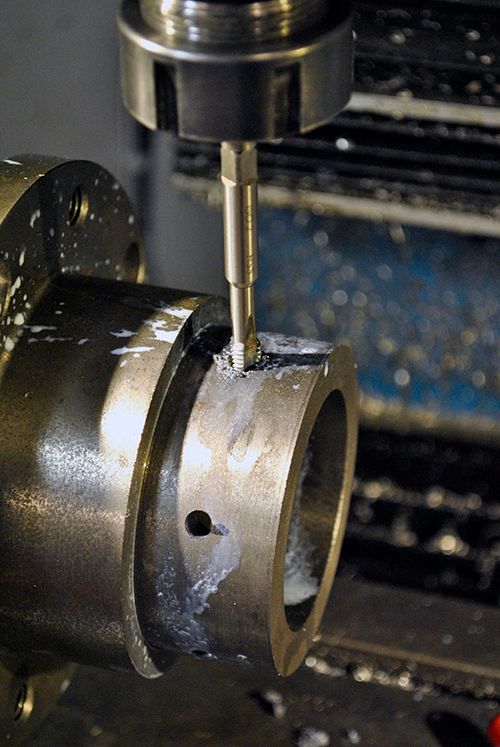 After that I made the cover for the shaft bearing right behind the power turbine wheel, first I thought about making it in graphite but since I don´t know if it might send particles into the bearing and possibly wreck it I chose to make it in steel instead. Here I am threading the hole for the stop screw. 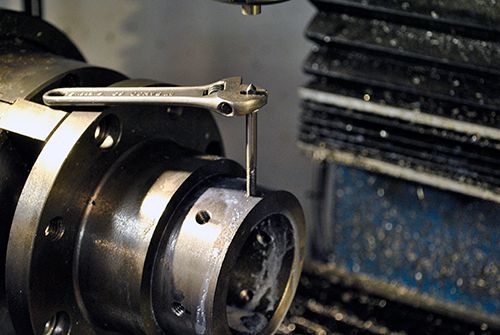 Here we have the cover (there must be a more correct name for it) and the stop screw before they were fitted. 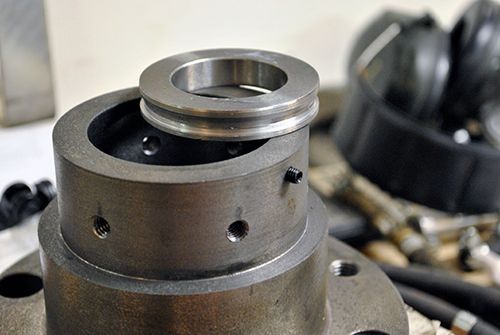 And here they are in place. 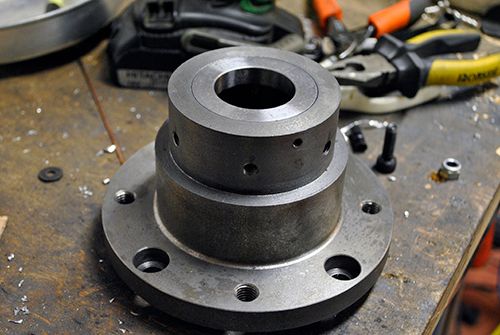 Cheers! /Anders |
|
|
|
Post by Richard OConnell on Aug 12, 2013 17:11:34 GMT -5
Very nice work. I feel like you're the kind of guy who can get locked in a garage and come smashing out in a car made of hammers within an hour.
|
|
|
|
Post by racket on Aug 12, 2013 23:20:37 GMT -5
Hi Anders
Nice to see a "short" list of jobs to do :-)
Cheers
John
|
|
|
|
Post by turbochris on Aug 13, 2013 9:05:34 GMT -5
if you have a long road the brakes are not needed
|
|
|
|
Post by turbochris on Aug 13, 2013 9:11:09 GMT -5
I live in southeast USA drag racing capital of the world! I know all the track owners around here, I need to get something like the UK guys have going over here. My silly ass toys get a lot of attention at the track. Just come here w a helmet n firesuit and I'll make you happy.
|
|
|
|
Post by Johansson on Aug 13, 2013 14:29:41 GMT -5
Richard: Thanks, I´ve never heard that one before. John: Yup, the original "list" must have been the size of a five story house so it is getting closer. Chris: Southeast USA, is that anywhere near Bonneville? I haven´t got a clue about american geography. I think I´ll take the time to bleed the brakes... During my little girls day sleep I fixed the faulty power turbine housing holes in the mill to get all 6 M8 bolts to fit. 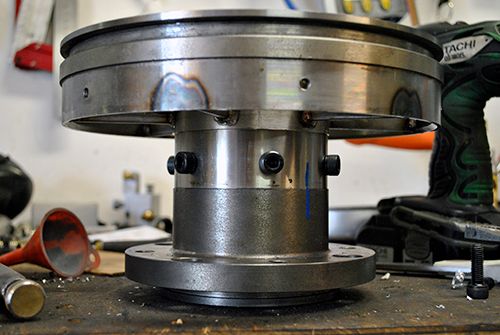 Later this night when the damn russian athletics was all over the tv I headed out to the shed to make some minor adjustments to the power turbine housing to get a decent fit for the exhaust. 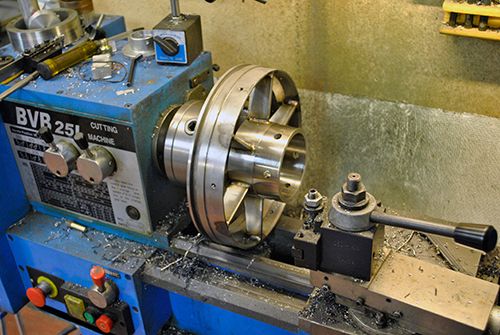 After that I welded the previously spot welded exhaust... 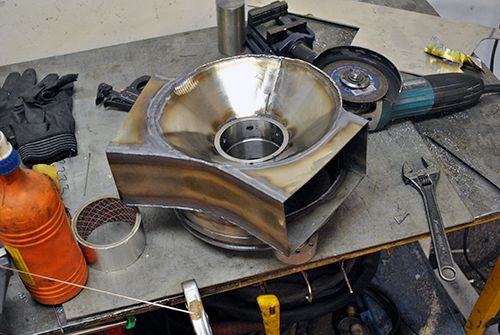 ...and assembled the shaft tunnel, turbine housing and exhaust!  As a side note I´ve bought a WP9 tig torch which is much smaller than the old WP27 that came with the tig welder, it is a dream to weld with and you can see the difference in size in the pic below. 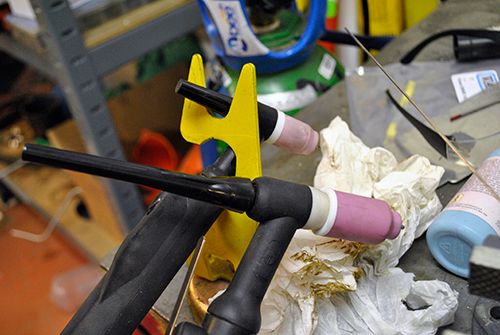 Cheers! /Anders |
|
|
|
Post by Johansson on Aug 14, 2013 15:50:53 GMT -5
More russian athletics on the TV = a trip out to the workshop. This time I finished two of the smaller jobs on the list in less than an hour. 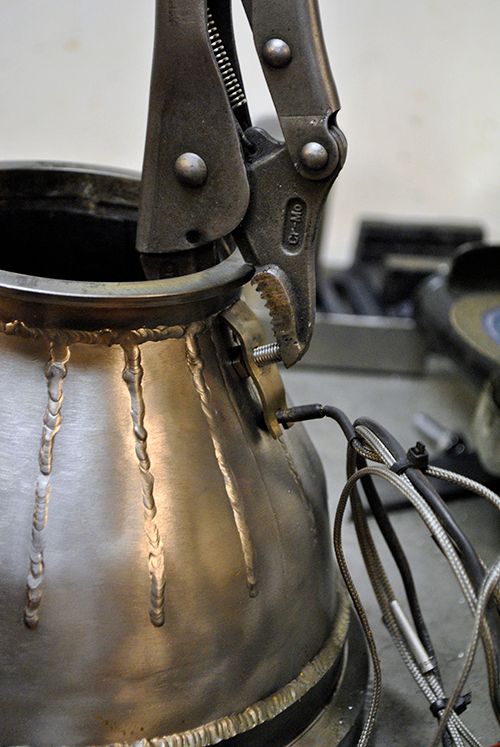 Fitting a temp probe to the inter turbine duct, it was fitted on the bottom so it wouldn´t be in the way for the heat shielding jacket I will make for the power turbine section later. 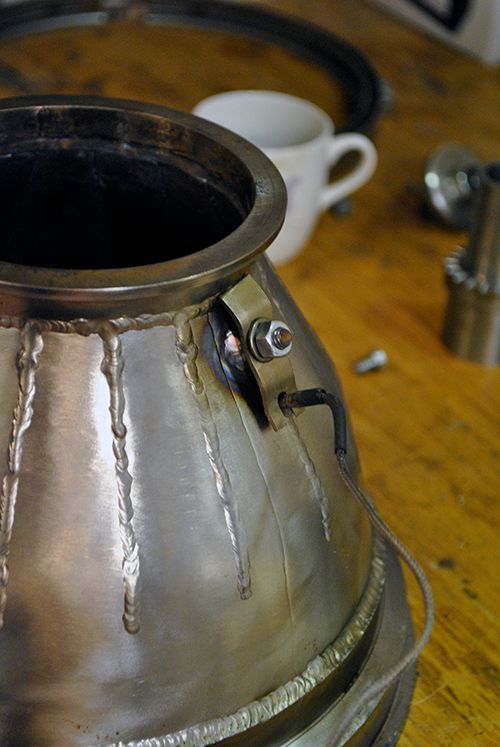 Here you can see the probe inside the duct. 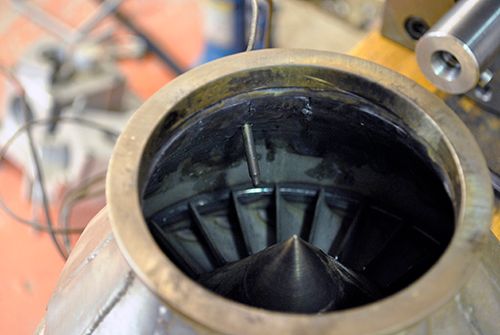 After that I placed the entire power turbine section on the workbench, it has become quite a large piece. Heavy as well thanks to the cast iron gearbox, lucky for me that weight isn´t an issue in landspeed racing. 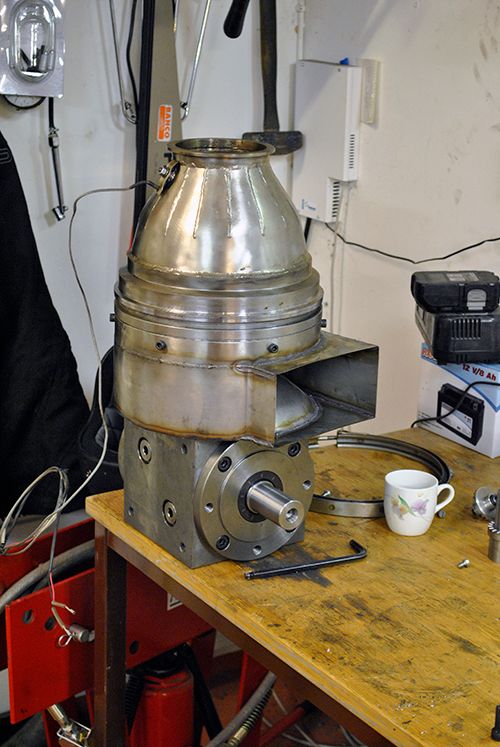 The other minor job was to shorten the handlebars a bit, as you might have noticed they were longer than needed and now was the perfect time to fix that. 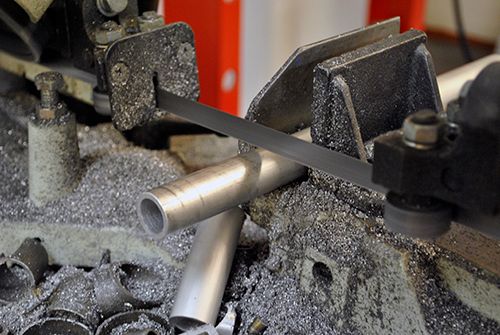 This looks a bit better, now I only have to order a pair of shorter brake levers on Ebay to complete the new look. 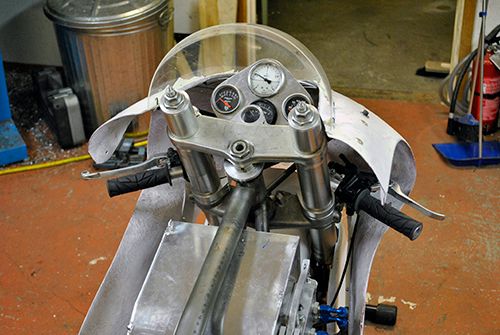 Cheers! /Anders |
|
|
|
Post by enginewhisperer on Aug 15, 2013 22:03:20 GMT -5
looking good! I also recently bought a WP9 TIG torch for some tricky jobs and it really makes a difference |
|
|
|
Post by Johansson on Aug 16, 2013 2:30:23 GMT -5
They sure do, and I cannot say that it got any hotter from last nights aluminum welding than the large WP27 used to get. Another thing I did last night was to make a quick release mount for the air intake. 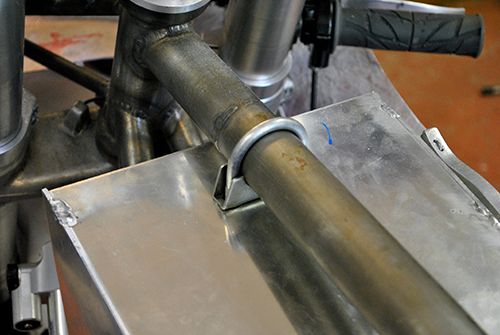 After that I cleaned up the work bench, spit in my hands and removed everything from the air intake in order to take it out of the frame. 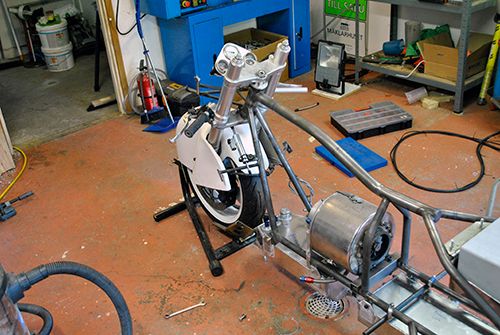 It became quite a pile on my newly cleaned up bench. 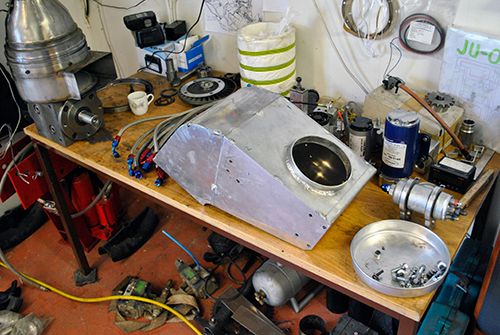 With the air intake out of the frame I could do the two things on the list that concerned it, the heftiest one was to weld it so that was what I did first. 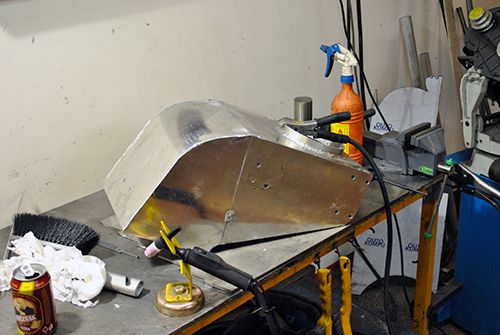 After a while it looked like this, a bit more rigid now I assume. 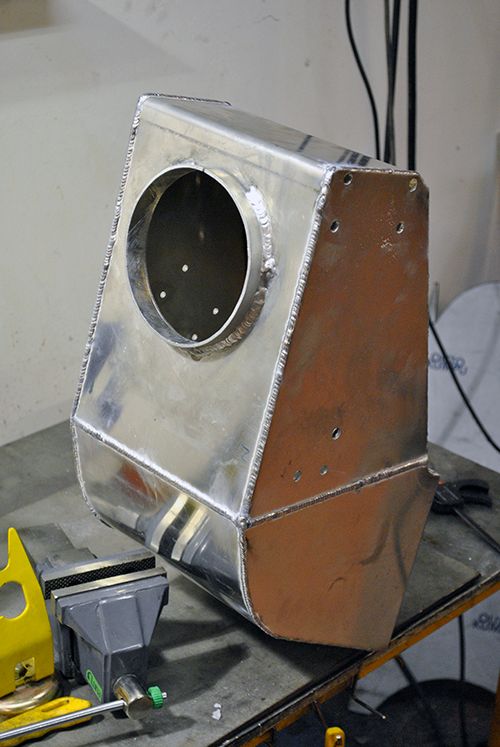 The second and last job on the air intake was to add an underpressure gauge to it so I can see if the engine is starved of air at higher revs, without that gauge I have no idea if I should blame an undersized powerturbine NGV or the intake in case the exhaust temps go through the roof during the test run. 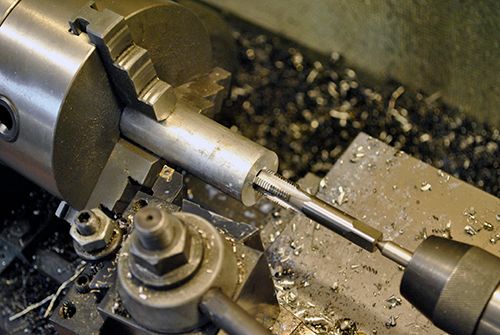 Ready to be welded to the air intake. 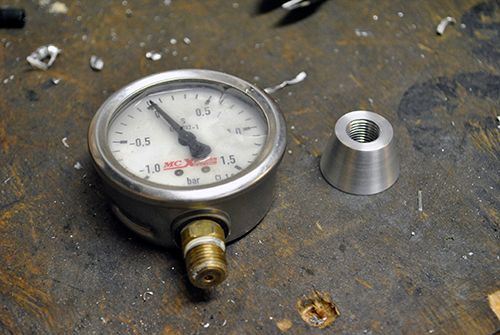 And here it is in place right next to the oil regulator and perfectly visible for the rider. 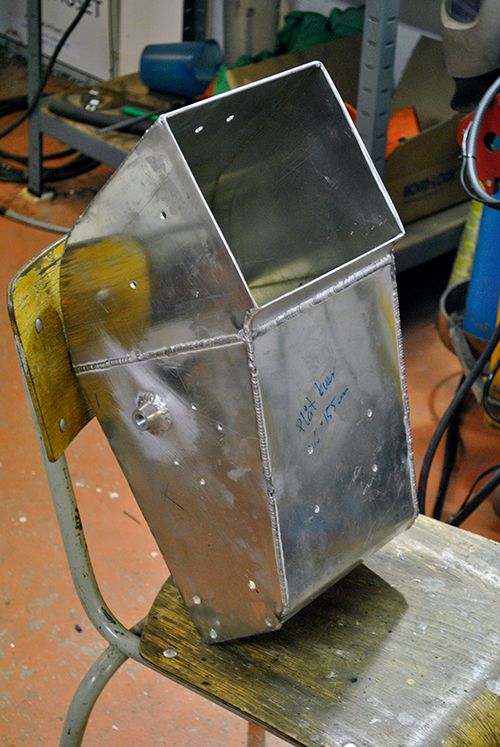 Finally a pic with the gauge added. 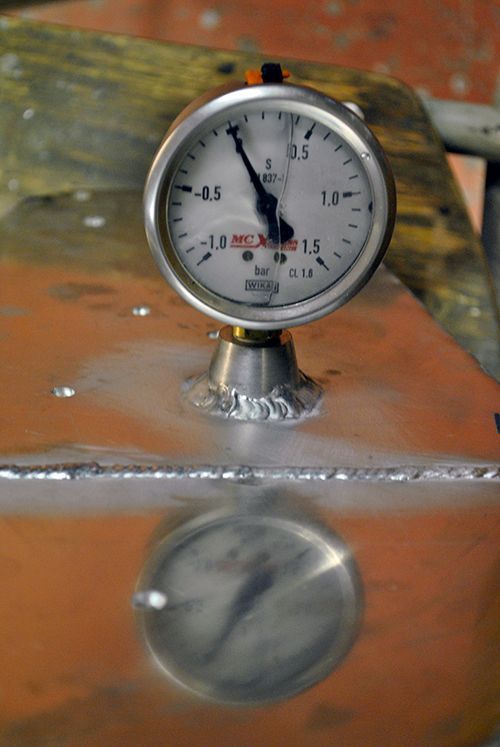 Cheers! /Anders |
|
|
|
Post by Johansson on Aug 16, 2013 15:14:34 GMT -5
Yesterday the race tent I ordered arrived, Agnes looked a bit curious about the large boxes in her workshop. 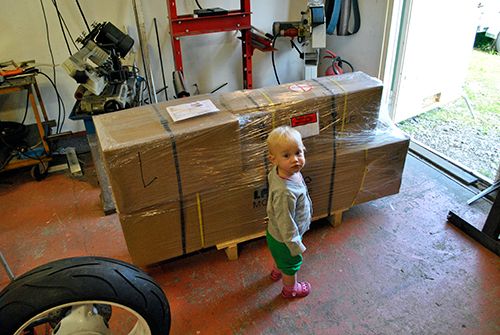 It is 3x4.5m and feels like a quality tent, it wasn´t the cheapest one around but no pro tent either so I think it fits me perfectly. Easy to assemble and lightweight since the frame is in aluminum. Notice the foldable work bench I also bought, very useful. 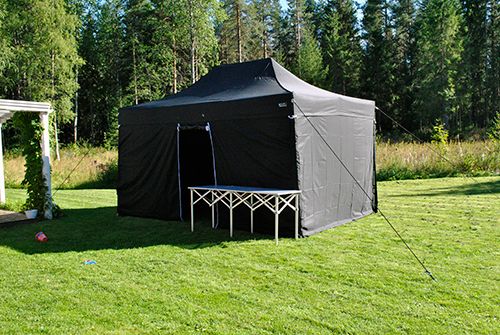 Cheers! /Anders |
|


