|
|
Post by turbochris on Aug 17, 2013 15:35:30 GMT -5
pull into a local bike hangout and put the front wheel against the bar and do a burnout!
|
|
|
|
Post by Johansson on Aug 19, 2013 15:58:02 GMT -5
Don´t dare to in case some guys beard gets sucked into the engine....  Thanks to some internet access problems I haven´t been able to post this until now, I got this done two days ago. 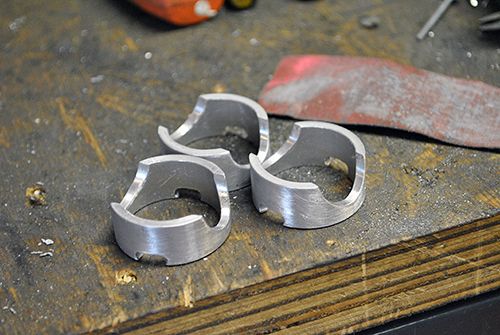 The suction line from the oil tank to the pump needed to be secured somehow, and I came up with these little buggers. 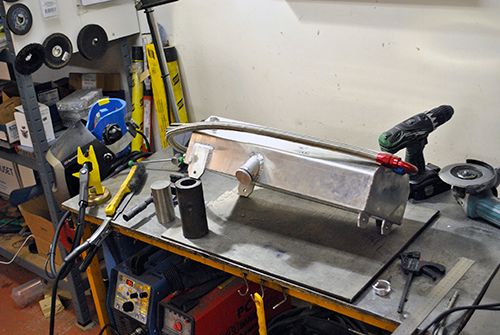 The oil tank ready to go, only the fuel tank left. 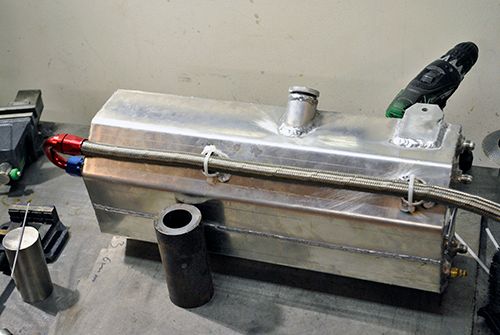 I am not sure if cable ties are the fastener of choice of you ask the safety crew at Speed Week so I will wire lock it later. 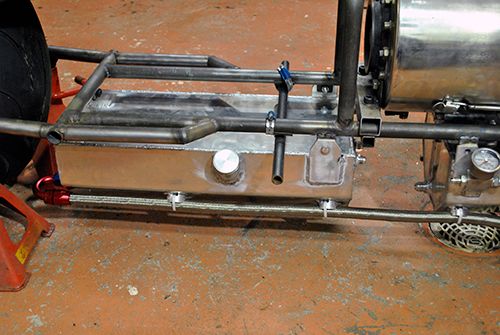 For this test I´ve decided to use the wooden seat to save some manifacturing time, I don´t want to rush that build since I really want the seat to be both comfortable and decent looking. 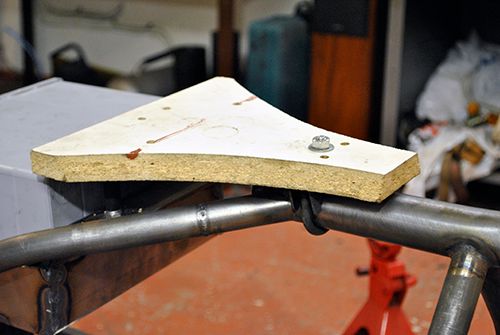 Cheers! /Anders |
|
|
|
Post by Johansson on Aug 20, 2013 13:05:02 GMT -5
I made a trip into town today and bought a bag full of couplings and a hydraulic hose so I could hook the air starter and propane preheat up with quick release couplings, this way it will be very easy to disconnect the bike from the starting gear once the engine is up and running. 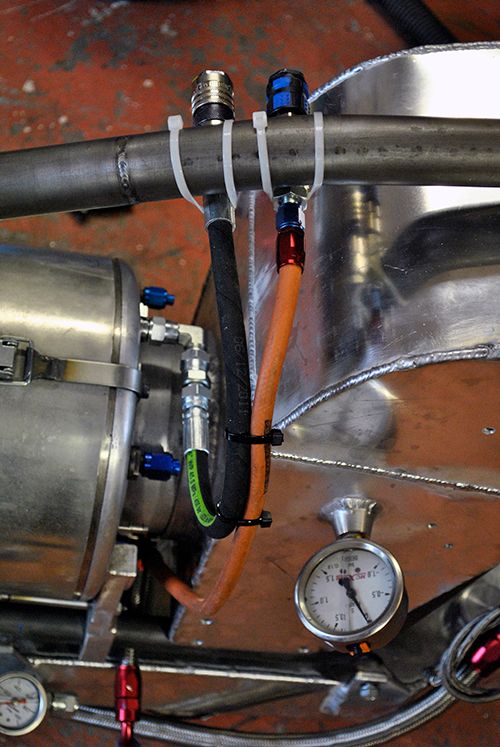 Cheers! /Anders |
|
|
|
Post by Johansson on Aug 22, 2013 11:43:28 GMT -5
Last night I built the rear brake caliper "rod" or what it is called, the brake torsion restrainer perhaps? 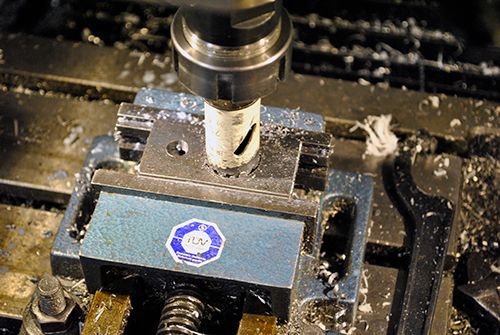 I don´t dare to ride the bike without a rear brake since I have no idea how high the idle torque will be, not fun if the rear wheel starts eating itself into the gravel road outside my house... 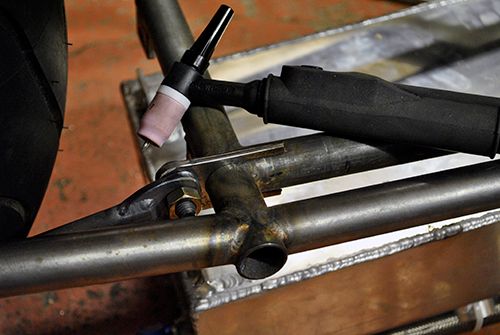 The rod is made out of chromemoly tubing so even if it looks a bit thin it is more than strong enough. 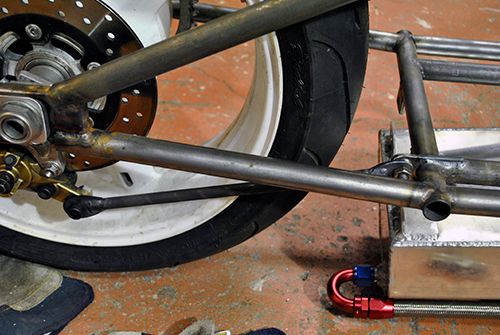 After that I started to fit all the stuff I removed earlier from the frame, this time with locking nuts and bolts that aren´t twice the lenght needed... 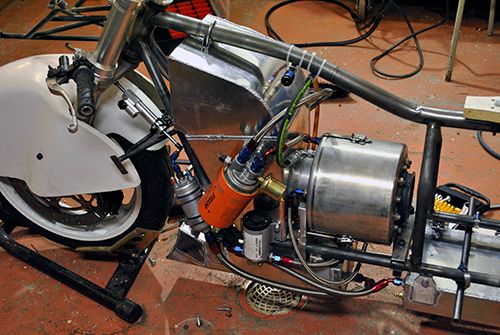 The other side. 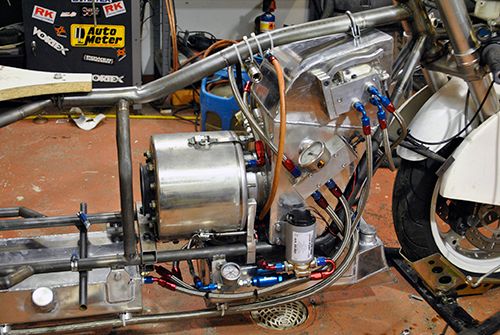 Today I found an hour while the little girl was sleeping and assembled the gearbox with the set of SKF bearings with C3 play I ordered a week ago, later I will fit cheramic hybrids to cope with the revs but according to John (racket) these ones should be ok as long as I keep the revs below 10.000rpm. 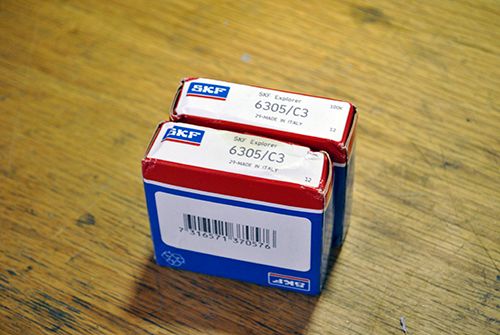 Fitting the bearings. 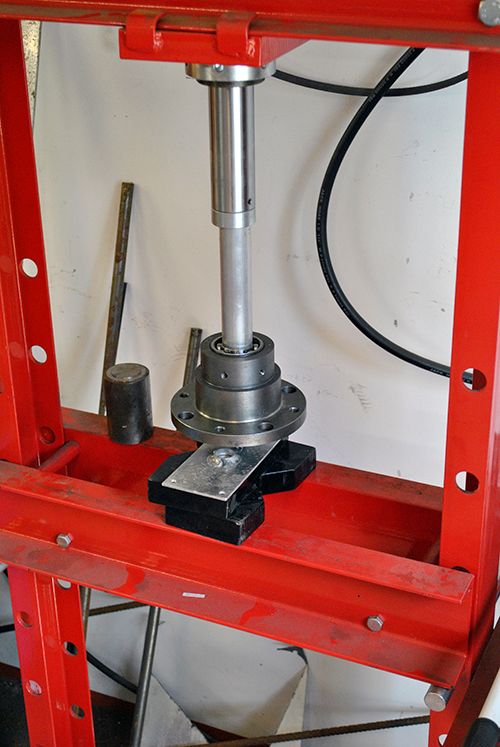 The bearings and the gland in place, a snug but still loose enough fit against the shaft so it shouldn´t leak much exhaust gasses into the bearings. 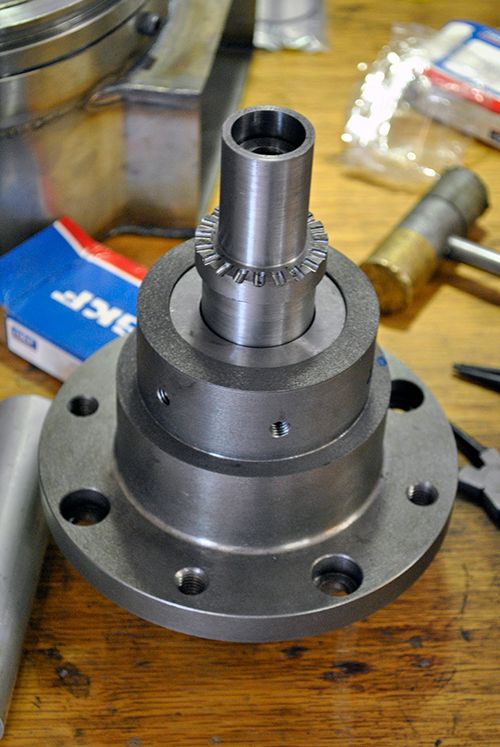 6 bolts cut to lenght and drilled for locking thread, they will be used to bolt the freepower housing and shaft tunnel together. 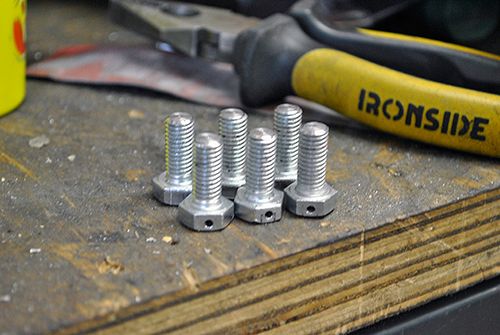 Bolts torqued down and lock wiring almost done! 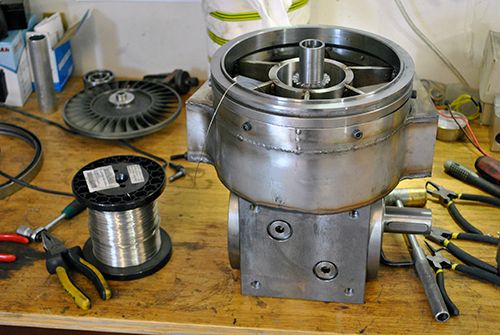 No advanced lock wiring, just to make sure the bolts won´t come completely lose. 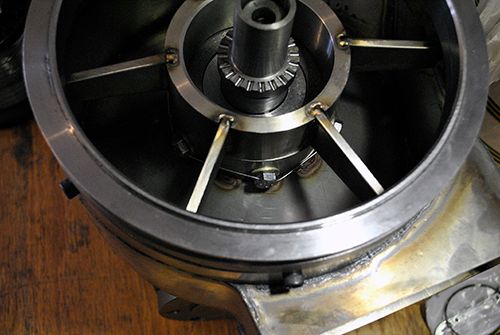 With that done I could fit the turbine wheel and thread lock the bolt, I wouldn´t want to drop the turbine wheel at 33.000rpm... 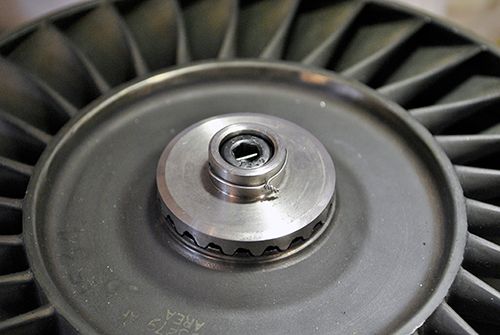 Cheers! /Anders |
|
|
|
Post by pitciblackscotland on Aug 22, 2013 18:00:08 GMT -5
Hi Anders, The bike is coming along nicely, wont be long before you go for a test ride -  Hope it works out just like Andrews bike. Cheers, Mark. - |
|
|
|
Post by Johansson on Aug 23, 2013 9:53:14 GMT -5
Thanks Mark! The bike needed some vitamin D so I took it outside for a photo session after fitting the gearbox, more pics tonight when my daughters are asleep. 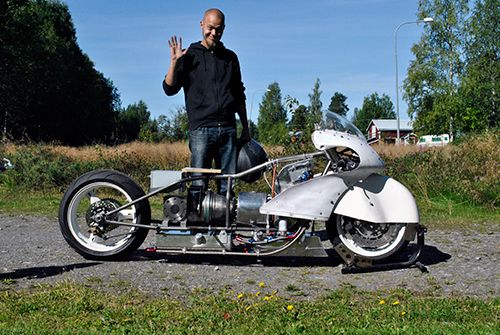 Cheers! /Anders |
|
|
|
Post by Johansson on Aug 23, 2013 13:04:38 GMT -5
|
|
|
|
Post by racket on Aug 23, 2013 17:48:40 GMT -5
Hi Anders
Sweet :-)
Cheers
John
|
|
metiz
Senior Member

Joined: April 2011
Posts: 297
|
Post by metiz on Aug 23, 2013 18:21:01 GMT -5
The bike looks great but I'm more surprised to see your garden without 2 metres of snow!
|
|
|
|
Post by Johansson on Aug 23, 2013 23:29:46 GMT -5
Thanks! I hope the snow stays away for at least two months more, days like yesterday are wonderful compared to -30°C...
|
|
|
|
Post by Johansson on Aug 27, 2013 16:01:27 GMT -5
Some days are just better than others, today I could write off two of the larger things on my to-do-list without any effort at all! 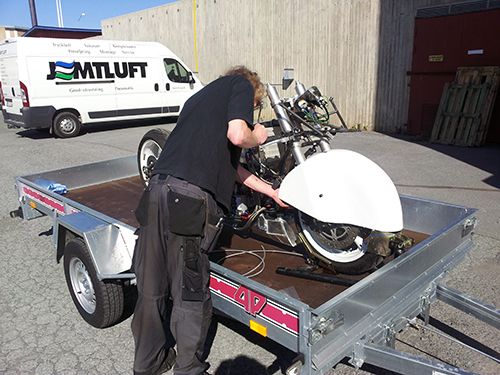 I took the bike into town to a company that could make steel braided brake hoses, a couple of hours later I returned home with a bag of hoses and no idea what they would charge me for it. 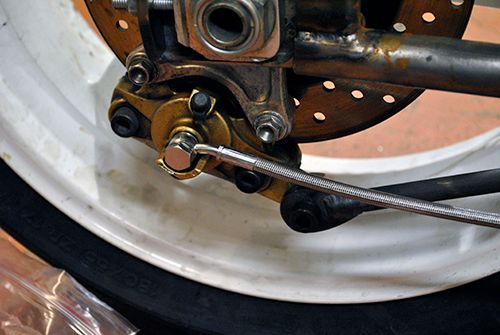 Later tonight a blog reader dropped by with a set of five industrial sprockets ranging from 18-22 teeths, not only did he order the blanks for me but he drilled, reamed and made the key slot in all five for me! Needless to say we have the greatest blog followers on planet earth!  A perfect fit. All I need to do is to make some shims to get the right alignment with the rear sprocket and make a steel "hat" that fits on the drive shaft and locks the sprocket in place.  Cheers! /Anders |
|
gidge348
Senior Member
Joined: September 2010
Posts: 426 
|
Post by gidge348 on Aug 27, 2013 20:37:46 GMT -5
Hi Anders, great build as usual and nice to see you getting help from other bloggers. Just a small thing I noticed that you may have thought of but I cant see. Your mount for the gearbox relies on clamping the chassis tubes. I have had similar mounts on go-karts and torque on the chain tends to pull the clamps backwards, loosening the chain and pulling everything out of align. To over come this one or two bolts and lock nuts pushes up against the rear on the mount to stop that. It is also used adjust the chain but I know you will be moving the rear wheel.  As I said you may have already thought of that but just thought I would mention it. Kind Regards Ian... |
|
|
|
Post by Johansson on Aug 28, 2013 0:28:41 GMT -5
Hi Ian and thanks for the input, a very sharp eye I must say! I will weld a pair of stop blocks to the frame that the gearbox can rest against, for now I will simply wedge something in there to keep it from moving backwards during the low speed test run. Cheers! /Anders |
|
|
|
Post by racket on Aug 28, 2013 0:53:57 GMT -5
Hi Anders
LOL......"low speed test run" it might be, but knowing you I bet you sample the torque , better weld those stops in before the run ;-)
Cheers
John
|
|
|
|
Post by Johansson on Aug 28, 2013 1:24:47 GMT -5
Hi Anders LOL......"low speed test run" it might be, but knowing you I bet you sample the torque , better weld those stops in before the run ;-) Cheers John You are probably right. |
|


 Hope it works out just like Andrews bike.


