|
|
Post by Johansson on Dec 3, 2014 6:21:10 GMT -5
Thanks! It is all up to the jury now thankfully so no more vote fishing.  |
|
nersut
Veteran Member

Joined: September 2012
Posts: 223
|
Post by nersut on Dec 3, 2014 15:04:57 GMT -5
Congrats!
|
|
|
|
Post by Johansson on Dec 3, 2014 16:57:35 GMT -5
Thanks! Yesterday I picked up a set of spiked tyres for the bike that a guy here in Sweden has made, I managed to make three holes in myself from the spikes while I was loading them into the trunk so they are sharp... 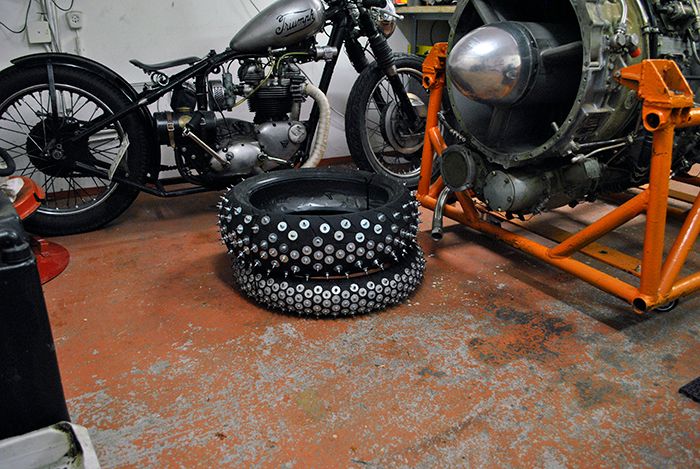 I checked the To Do-list and found that most of the modifications were made, so I started assembling the gearbox. 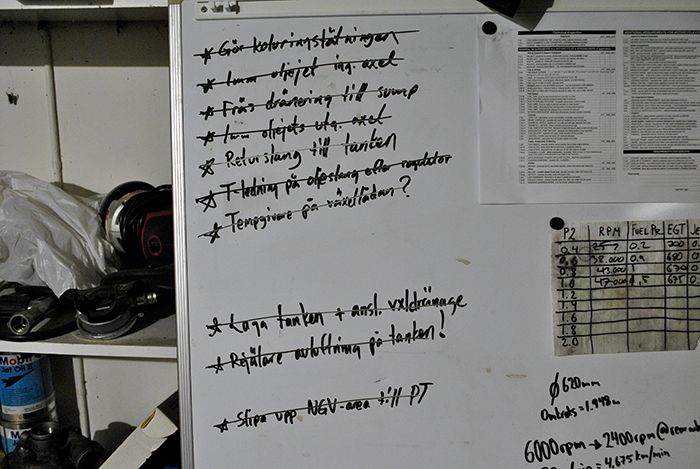 The new ceramic hybrid bearings were installed on the power turbine shaft.  With the first one fitted I pulled the seals and washed all of the grease away with kerosene.  Here the gearbox is assembled, I have some shimming left to do to get the gear mesh play perfect but that will have to wait until next time. 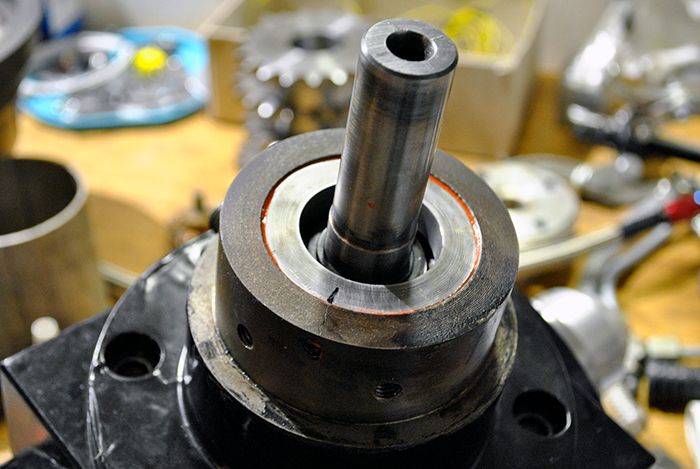 Cheers! /Anders |
|
|
|
Post by racket on Dec 6, 2014 16:55:28 GMT -5
Hi Anders
Love those tyres :-)
Cheers
John
|
|
|
|
Post by Johansson on Dec 7, 2014 0:48:06 GMT -5
Last night there was a big christmas party at my work, hundreds of finely dressed people I had hardly even met before, lots of food and a well known band that would entertain us after the dinner. After the main course I couldn´t stand it any more so I sneaked home, found a beer in the fridge and went out to the workshop instead. A bit less crowded there. 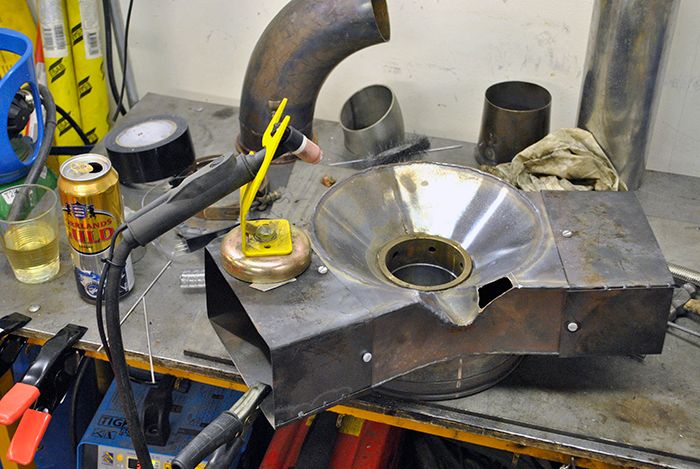 In the pic above I am modifying the exhaust housing for the power turbine a bit to make clearance for the oil line to the gearbox, it also makes the gas passage a bit smoother than before. Below I have fitted the housing to the gearbox and thread locked the bolts in place.  Here the freepower assembly is put back in the frame, since the gearbox anchors the entire engine package it needs to be firmly mounted. 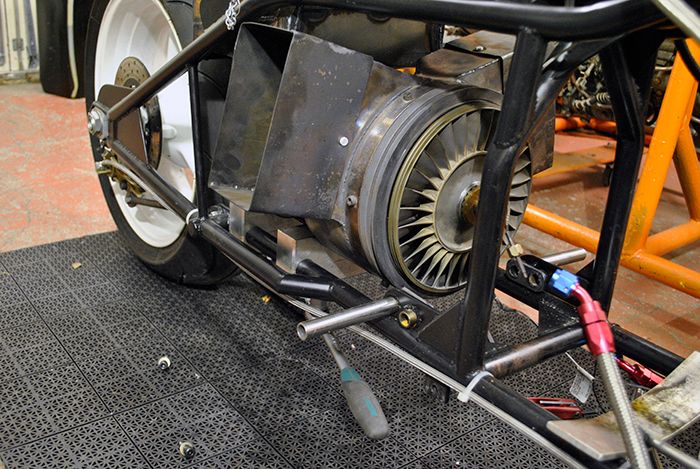 To allow for some thermal expansion of the oil tank I filed the mounting holes a bit, John suggested this earlier but I kind of forgot about it. 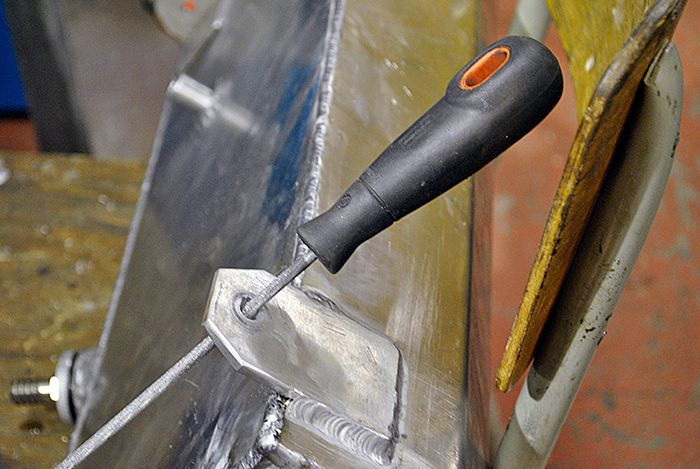 Since I take the oil for the gearbox from the regulator before oil filter I fitted one of the steel mesh filters that Ernie so kindly sent me earlier, this turned out very neat and I can easily open the filter to check for debree after the engine has been run. 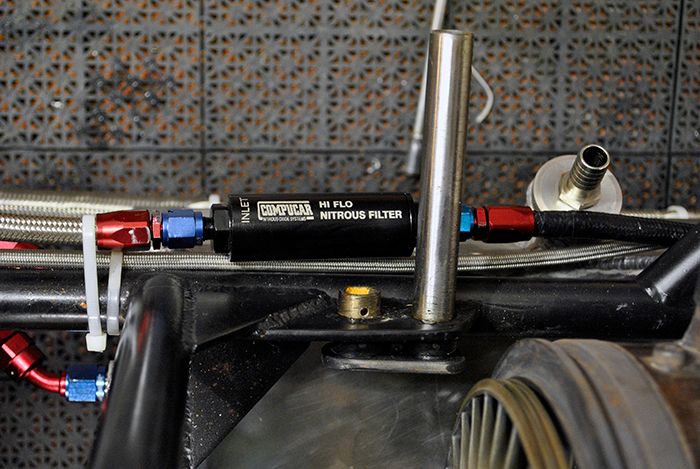 With eveything attached to the oil tank I could fill oil, plug the main oil line to the gas producer and test the gearbox lubrication. It worked like a charm, no leakage past the piston ring seal and a steady flow of oil through the hose from the gearbox sump down to the oil tank. 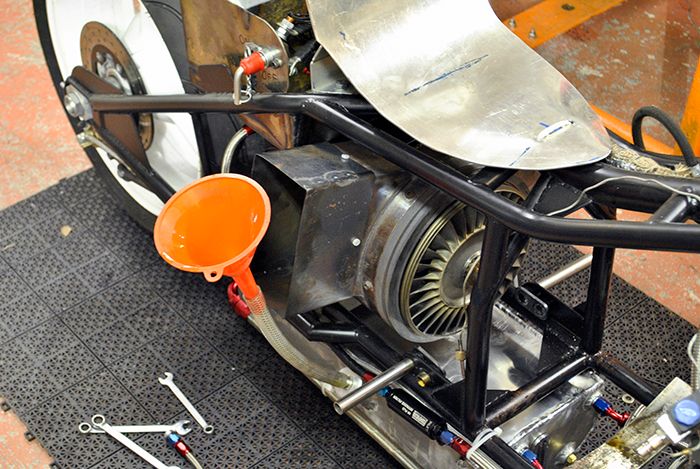 Cheers! /Anders |
|
|
|
Post by ernie wrenn on Dec 7, 2014 10:14:19 GMT -5
Those filters are just to handy. They filter down to 40 microns and can be used on gas, oils, and Nitrous. Unscrews for checking and cleaning. Available in #4 and # 6 JIC .
|
|
|
|
Post by Johansson on Dec 8, 2014 17:53:05 GMT -5
Yup, really compact and neat filters! A couple of hours ago I went to the shed to do some modifications to the interstage duct, something that has been bothering me is that I didn´t make any alignment edge on the V-band flange that connects the gas producer and the interstage duct. This makes assembly a bit difficult since I need to manually align the flanges while tightening the clamp, and even the slightest offset cause a restriction to the flow. 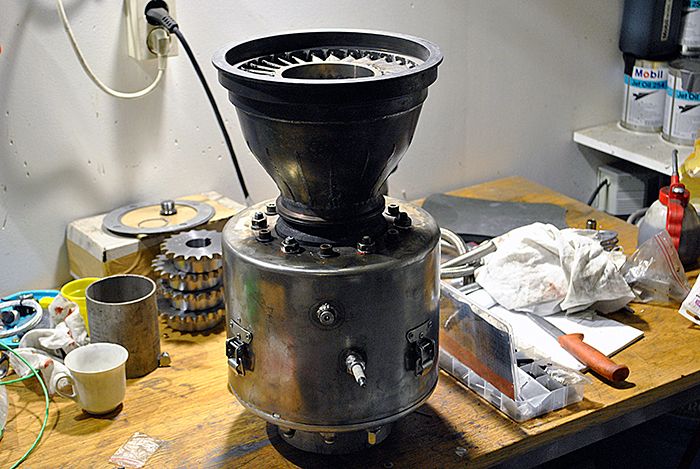 To fix this I drilled a pair of holes in both flanges for spring pins, before anyone comments on it I covered the turbine exit before drilling to avoid getting any metal shavings into the engine. 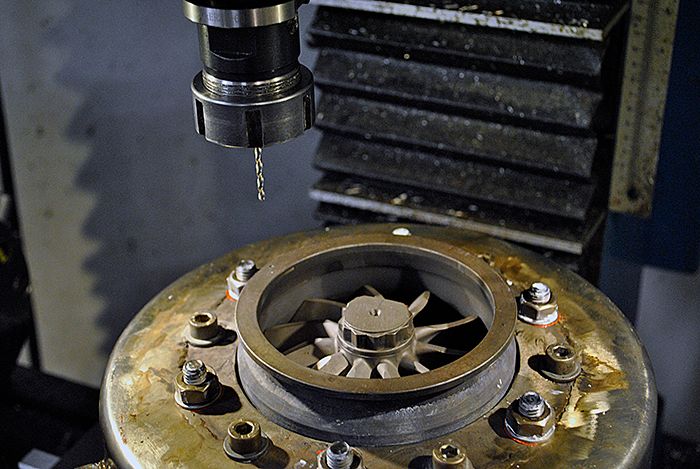 Here you can see the holes, the fit is very snug and will ensure a perfect alignment of the flanges. Neat! 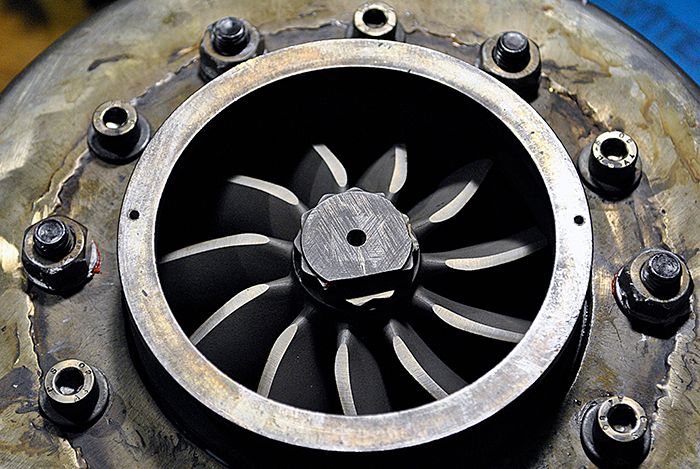 Next up was to fit one of the high quality Fluke thermocouples a guy here in Sweden sent me for free, I will use both the old thermocouple and this one to see if there is any difference between the two. Would a temp reading after the freepower turbine tell me anything useful, like how much power the turbine has absorbed? 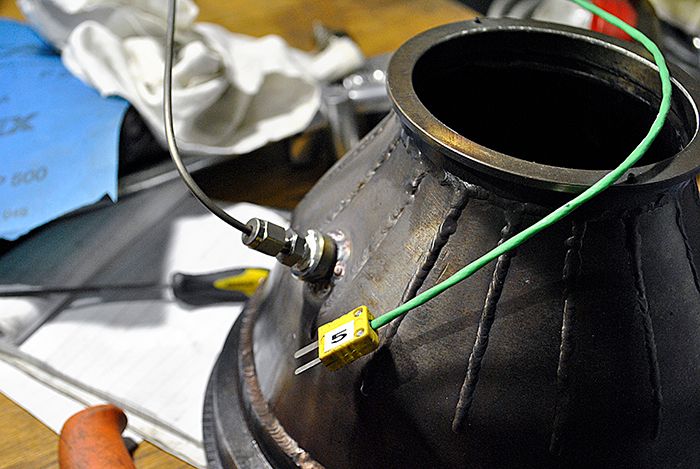 Before I called it a night I cut away some material from the air box entry, this way I should be able to remove the gas producer from the frame without having to pull the entire freepower section backwards a centimeter. 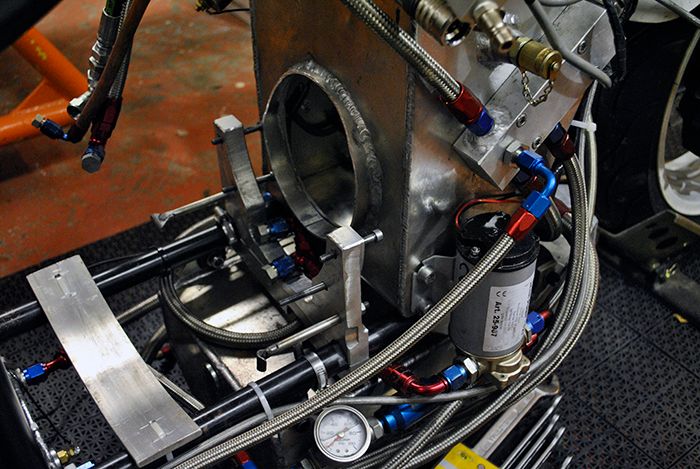 Cheers! /Anders |
|
|
|
Post by racket on Dec 8, 2014 20:05:13 GMT -5
Hi Anders
You really are getting those last few little jobs finished off to make life easier for yourself , nice touches :-)
An EGT g/g would be "interesting" , but the practicalities of using it in conjunction with the ITT g/g to determine power output would be difficult without knowing mass flow at any particular moment in time ................I think the "seat of your pants" will tell you more about the acceleration ,..............only on a dyno with steady state operation would you be getting accurate enough temp readings to "do the numbers".
It looks like it won't be long before the gas producer is refitted into the bike.
Cheers
John
|
|
|
|
Post by Johansson on Dec 11, 2014 15:17:51 GMT -5
Then I´ll skip that temp probe, you just saved me a couple of hours. I tried my best to take a picture of some TIG welding last night but failed miserably, perhaps if I had two more hands... 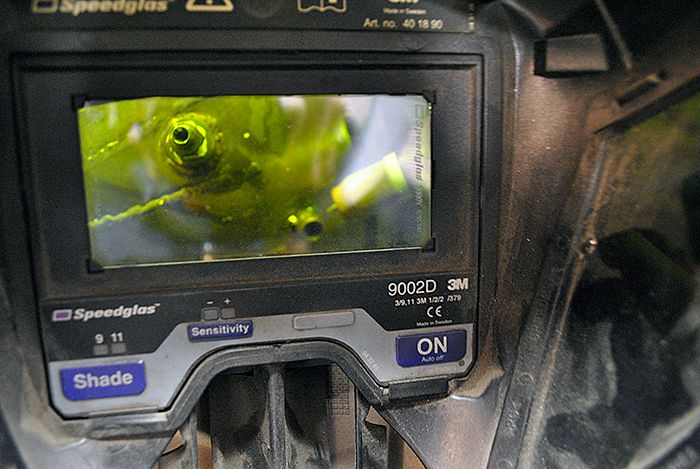 At least the welds got done like they were supposed to.  Boy does it feel good to put the bike back together after having had it scattered all over the workshop for a couple of months!  To get the V-band flange to align properly I made some schims out of a beer can and fitted them under the gearbox mounts, who said beer drinking was all bad? 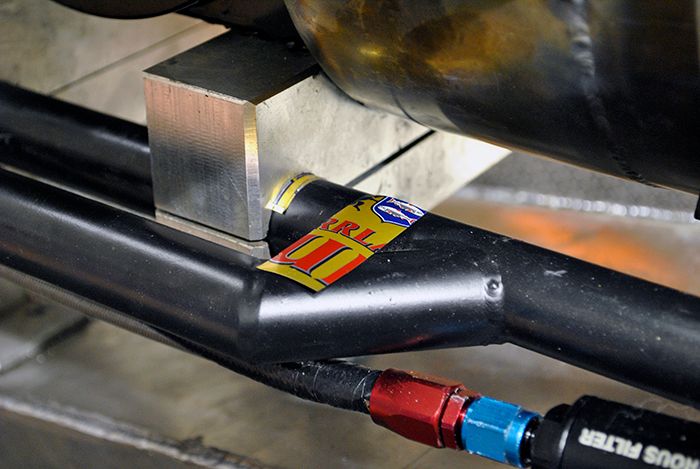 Now we are talking! Perfect alignment and with the two spring pins the V-band flange fit couldn´t be better.  Here both the new Fluke thermocouple and the P4 probe are fitted, the only empty space in the frame is starting to fill up. 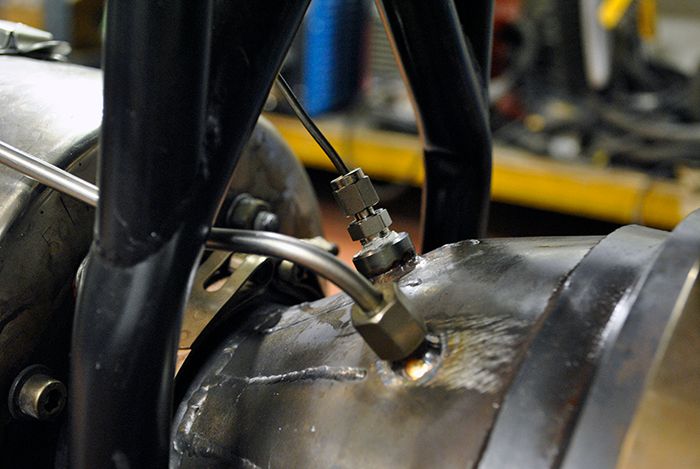 Finally the engine is back in the frame, next up is to make a couple of new mounts for the gauges and get the rear fairing done. 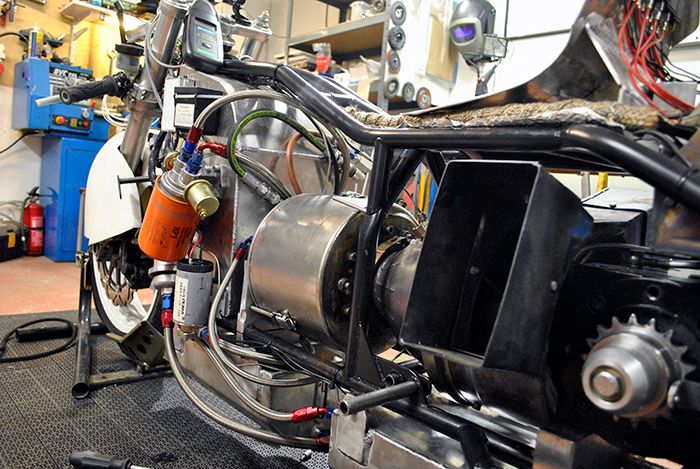 Cheers! /Anders |
|
|
|
Post by racket on Dec 11, 2014 15:36:01 GMT -5
Hi Anders
So good to see her all together :-)
Won't be long before you'll be filling that scuba tank ;-)
Cheers
John
|
|
|
|
Post by pitciblackscotland on Dec 11, 2014 21:14:29 GMT -5
Hi Anders,
Nice welding you do, looking forward to see you riding the bike up the street.
Cheers,
Mark.
|
|
|
|
Post by Johansson on Dec 13, 2014 17:44:38 GMT -5
Thanks! After a day with unusually cranky kids it was pure pleasure to spend a couple of hours in the workshop with Motörhead on full volume. 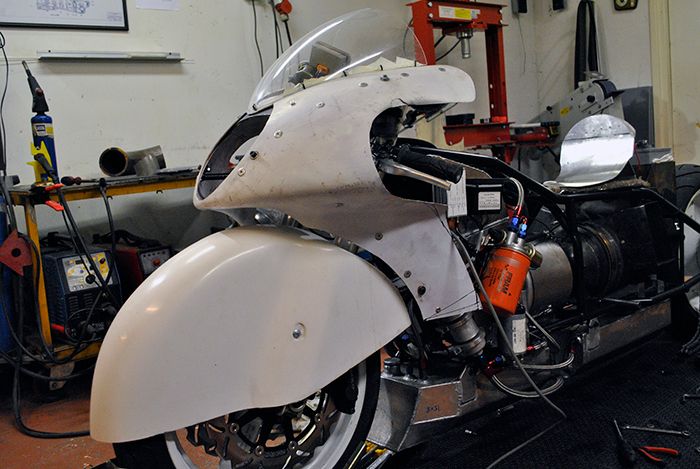 My first job was to fit the fairings but I ran into trouble when I realised that the brake line I ordered for the front wheel was so short that the brake lever hit the fairings when turning, to avoid cutting away more of the fairings I decided to get a new and slightly longer brake line made. 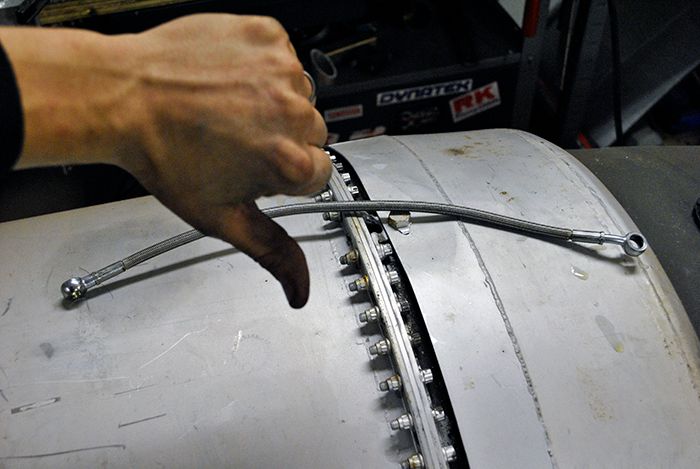 With the fairings finally in place I could make a couple of mounts for the T2 and P4 gauges, I am glad that I won´t have to fit much else in there because it is pretty filled up now. 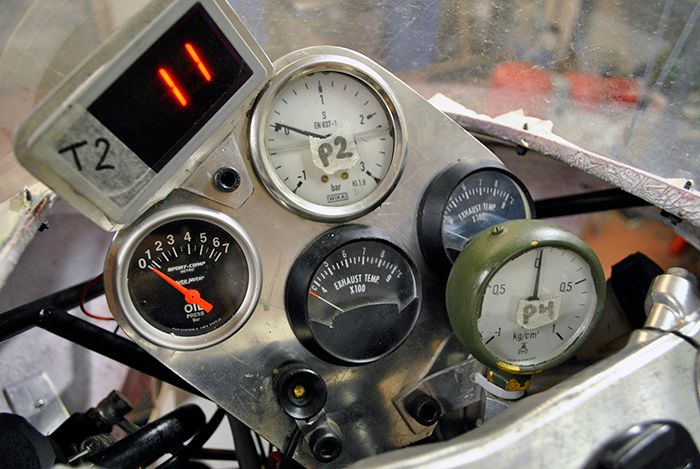 Since there was no way I could fit the tachometer so the Gopro camera mounted between the handlebars would see it I fixed it in place on top of the air box where at least I can see it myself. Later I will figure out a way to use a similar dashboard gauge like for the T2 so I can fit it right beside the rest of the gauges. 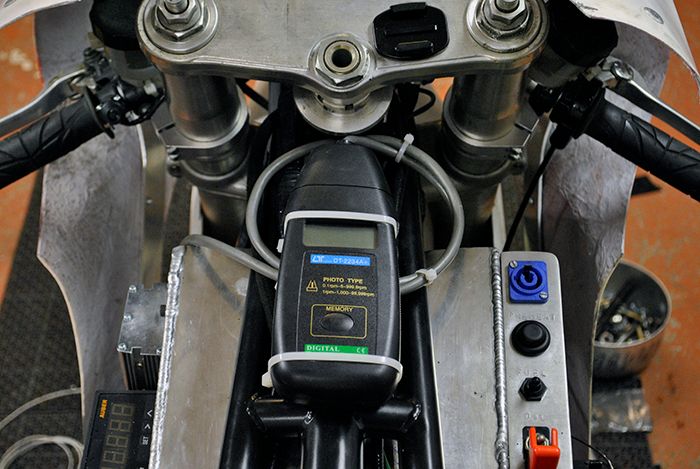 Cheers! /Anders |
|
|
|
Post by racket on Dec 13, 2014 19:25:05 GMT -5
Sweet :-)
|
|
gidge348
Senior Member
Joined: September 2010
Posts: 426 
|
Post by gidge348 on Dec 13, 2014 21:21:45 GMT -5
Looking good, hope the tests go well.
Good Luck
Ian...
|
|
|
|
Post by Johansson on Dec 19, 2014 12:34:42 GMT -5
My friend Olov toasted his leg when we burned a hole in the jet kick afterburner, another friend very cleverly named the damage "Jet Leg". To avoid suffering the same fate as Olov I had to make a proper heat shield around the freepower housing. 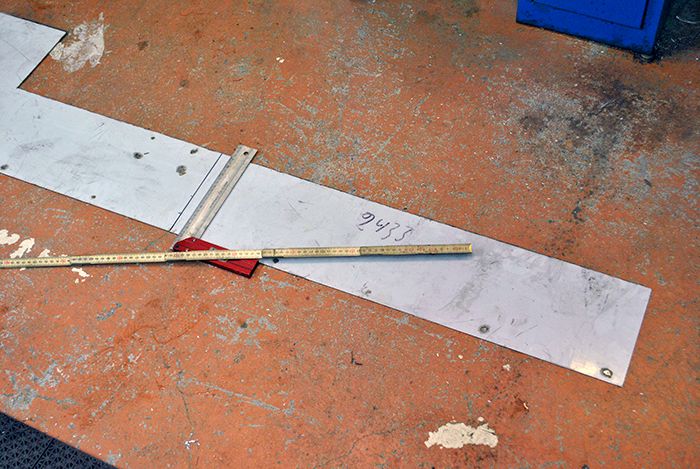 There is a distinct smell from cutting plastic coated stainless sheet with an angle grinder so I got a bit nostalgic thinking about the pulsejet building days.  Making a couple of sturdy fixing points for the heat shield.  I might have to dull the heat shield a bit to avoid blinding the speaker at Speed Weekend.  I have also managed to get a longer brake hose made so now the grip won´t touch the fairings when I steer the bike. 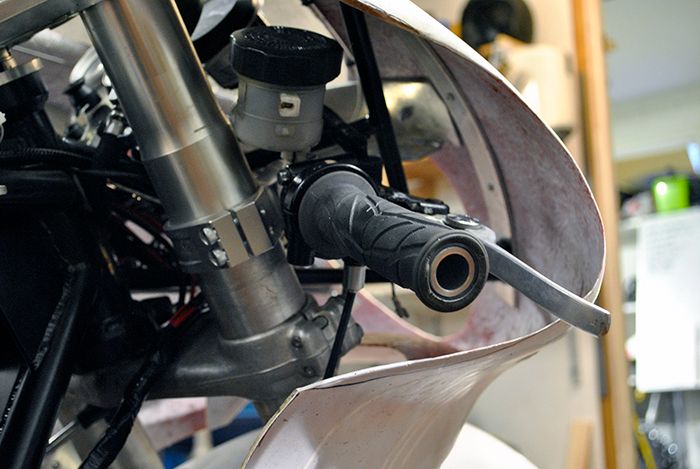 Cheers! /Anders |
|


