|
|
Post by racket on Jun 26, 2017 16:54:55 GMT -5
Hi Anders
Slowly slowly .......its a big job ,.... lotta hot gasses and air to be processed in a small space .........looking very nice :-)
Cheers
John
|
|
|
|
Post by Johansson on Jul 5, 2017 14:27:30 GMT -5
I found time to get another of the small jobs done, keying the fan side of the driveshaft!  Here the key is in place. 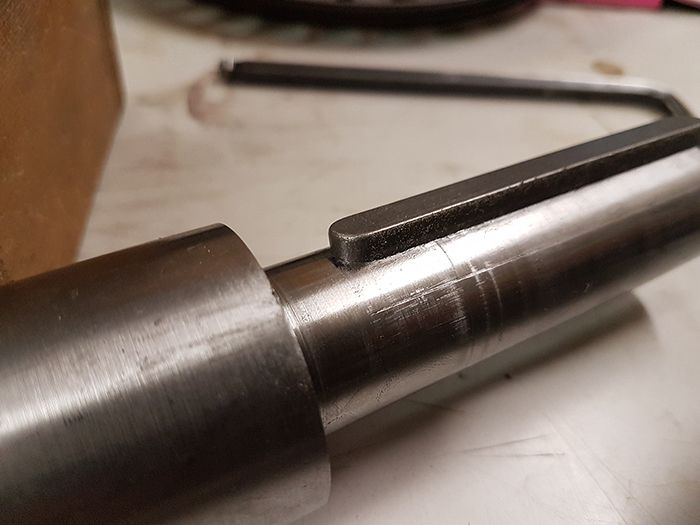 Fits like a glove! 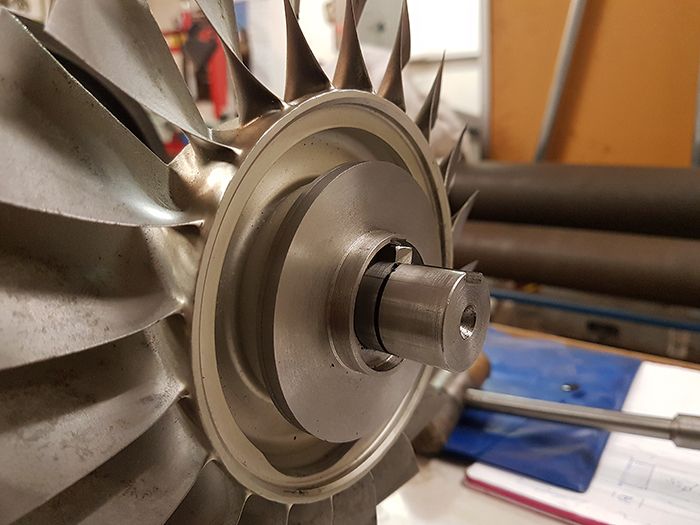 Now it was time to decide how to fix the fan on the shaft, I was reluctant to remove the drilled center at the shaft end since I might need it later. Eventually I decided on threading the end of the shaft and use a nut and a special washer to secure the fan. 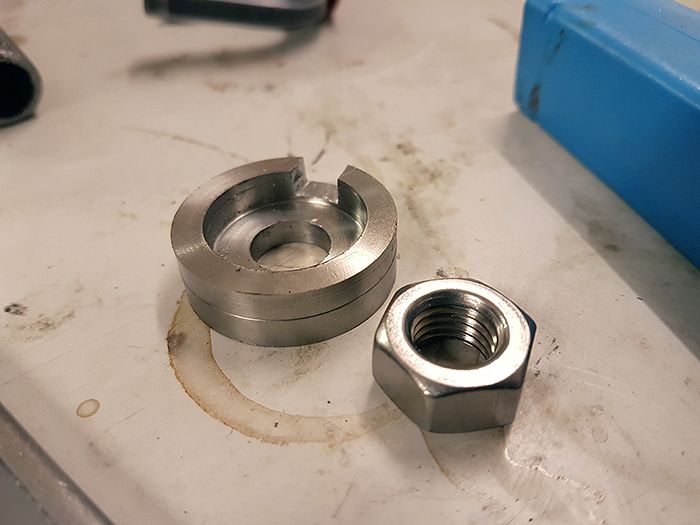 Threading the shaft end after turning it down to 12mm. 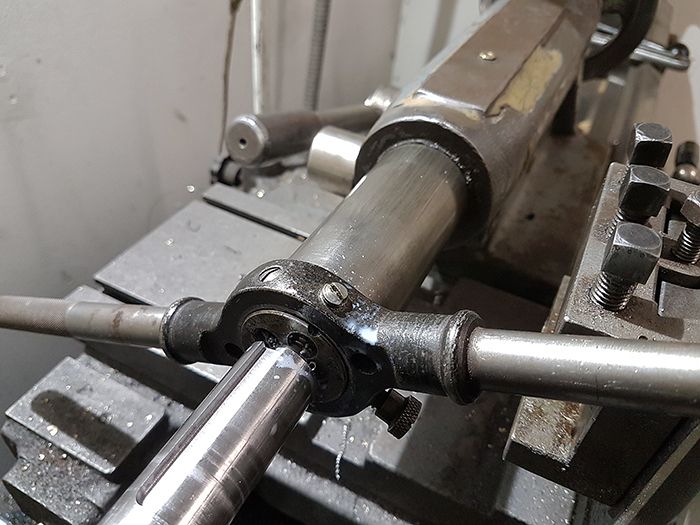 Shaft end threaded and the key cut to length.  Assembled, the washer will get a taper and some other small touches later. I will also use a Nordlock washer behind the nut to keep it from coming lose. 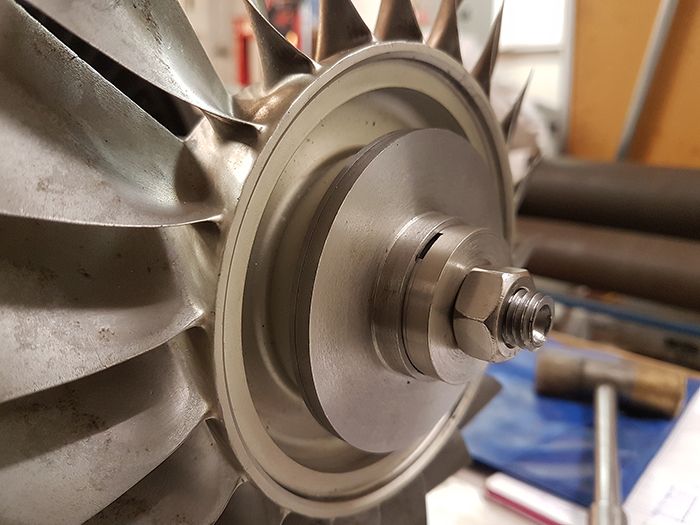 Cheers! /Anders |
|
CH3NO2
Senior Member

Joined: March 2017
Posts: 455 
|
Post by CH3NO2 on Jul 5, 2017 20:05:52 GMT -5
You do this level of work only as a hobby?... or is it building up to something bigger?
|
|
|
|
Post by Johansson on Jul 5, 2017 23:00:29 GMT -5
Only hobby. There is little use for manual skills around here in the era of CNC machining and Chinese mass production, except perhaps for repairing a broken driveshaft on the neighbors lawn mover.
|
|
|
|
Post by Johansson on Nov 11, 2017 16:53:25 GMT -5
This project has been sitting on my workbench for quite some time now, the bike and other hobbies have been taking up all of my spare time. 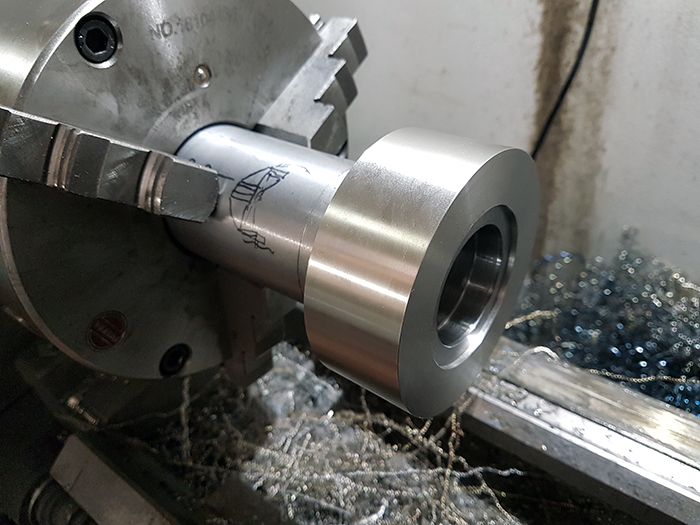 After a chat with Olov I got some inspiration to continue working on it so tonight I found a chunk of stainless in the shed that I turned down to a part that will eventually be a combined fan cover mount and fixing point for the turbofan in the ice yacht chassis. A set of stainless spokes will be welded to the hub later that will hold the fan cover. 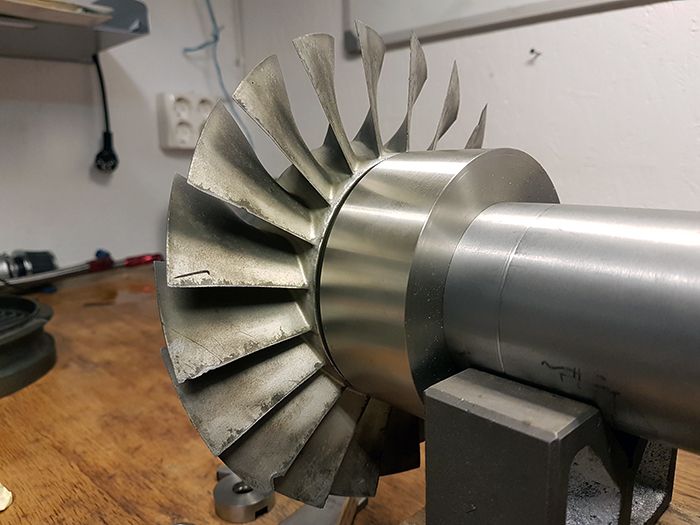 Cheers! /Anders |
|
|
|
Post by Johansson on Nov 14, 2017 13:40:50 GMT -5
Today I have milled slots in the hub for the 7 spokes that will hold the fan cover. 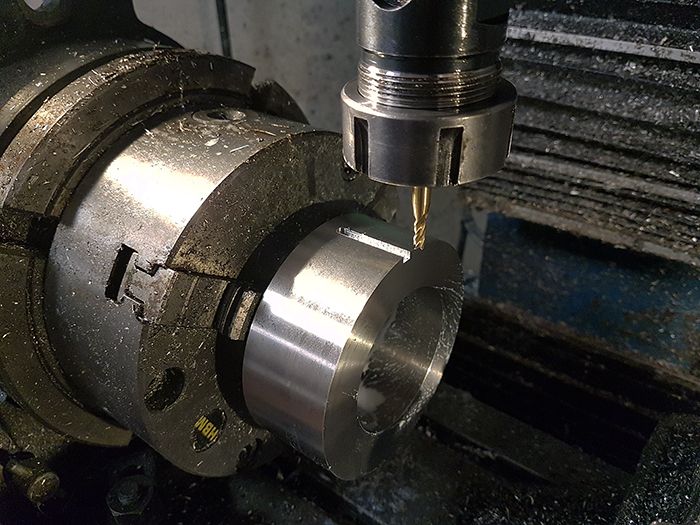 I have cut out 7 spokes from ss2333 stainless that will be welded to the slots, they will be streamlined later to get rid of the sharp edges. Lots of air will pass them by so it is important to make the passages as smooth as possible. 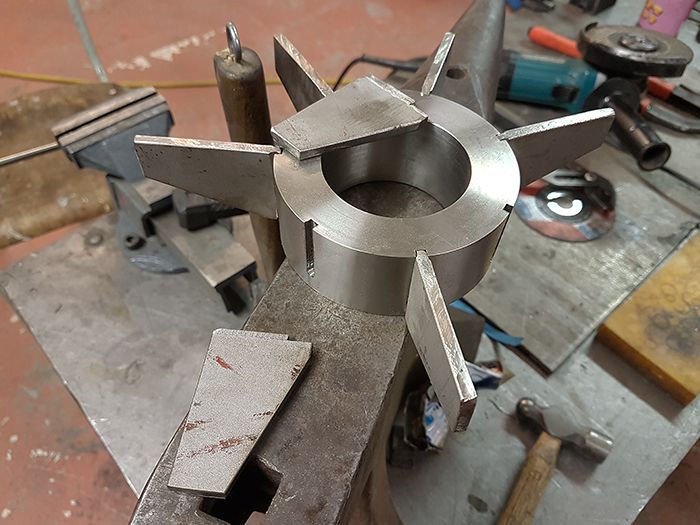 Test fitting the part to the fan assembly. 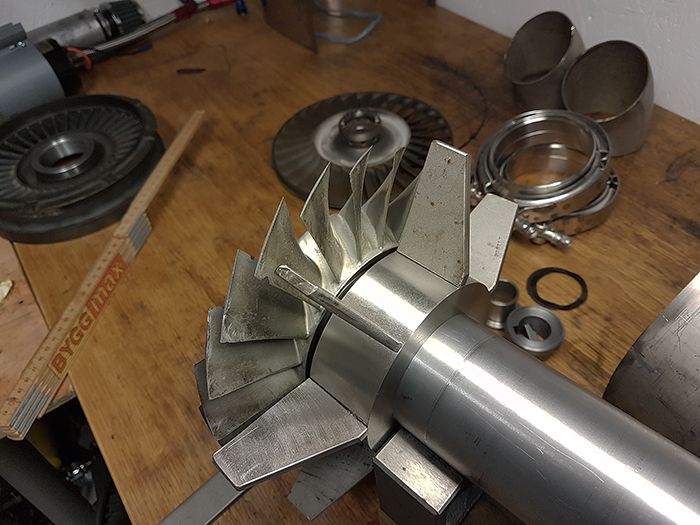 The hub will also act as the turbofan mount, so I drilled and threaded 6 holes for M10 screws. 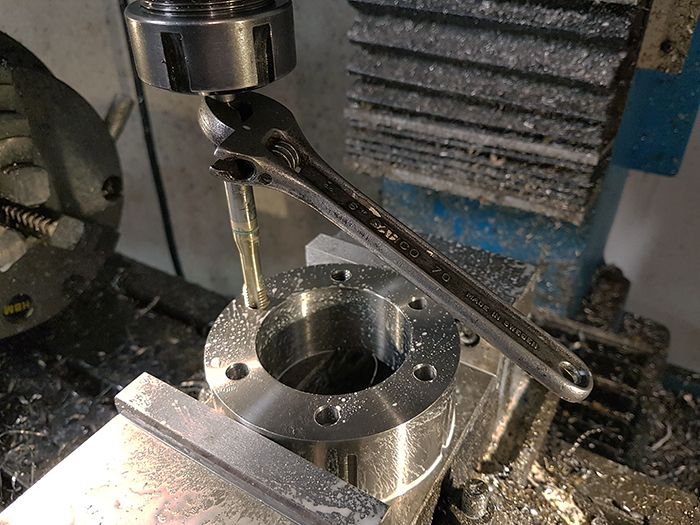 This is as far as I got today, now I need to do some thinking to figure out how to proceed from here. 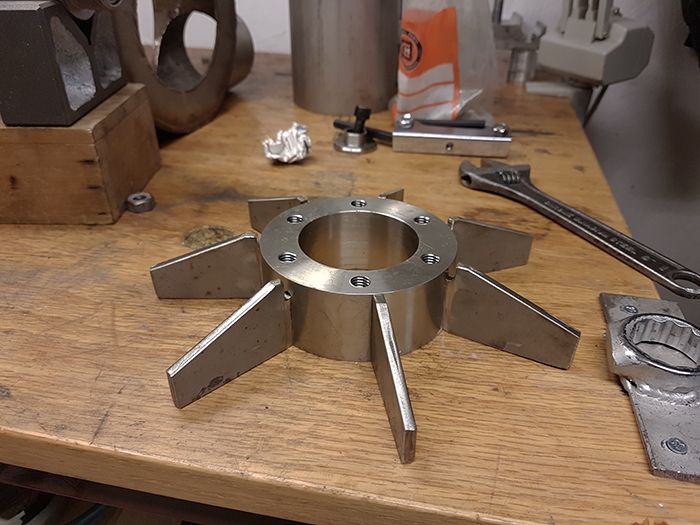 Cheers! /Anders |
|
|
|
Post by racket on Nov 14, 2017 15:32:48 GMT -5
Hi Anders
Nice and solid :-)
Stainless looks so good .
Cheers
John
|
|
CH3NO2
Senior Member
Joined: March 2017
Posts: 455
|
Post by CH3NO2 on Nov 15, 2017 9:57:50 GMT -5
Awesome work Anders.
Tony
|
|
|
|
Post by Johansson on Nov 17, 2017 15:57:40 GMT -5
Thanks! I hope to get some more work done this weekend, now it is rum time though.  |
|
|
|
Post by Johansson on Nov 20, 2017 17:29:11 GMT -5
I have the shroud in place now, unfortunately the damn Photobucket site seems to be down so I will post the pics as soon as it is working again. Knowing that Photobucket will end my 3rd party sharing account in a year or so is not exactly doing wonders to keeping build threads up to date, every picture I have posted on the internet for the last 10 years or so is through Photobucket so all will soon be lost. The same goes for the Mobacken Racing blog.  |
|
|
|
Post by racket on Nov 20, 2017 17:38:57 GMT -5
Hi Anders
Saw your pics on Facebook :-)
How are you going to "manage" the fan tip clearance , the taper is in the "wrong direction" for easy assembly , perhaps an abradable sleeve , the axial fan needs minimal clearances for good efficiency .
Bummer about your pics :-(
Cheers
John
|
|
|
|
Post by Johansson on Nov 20, 2017 17:41:23 GMT -5
Ahh, now it is up and working again. 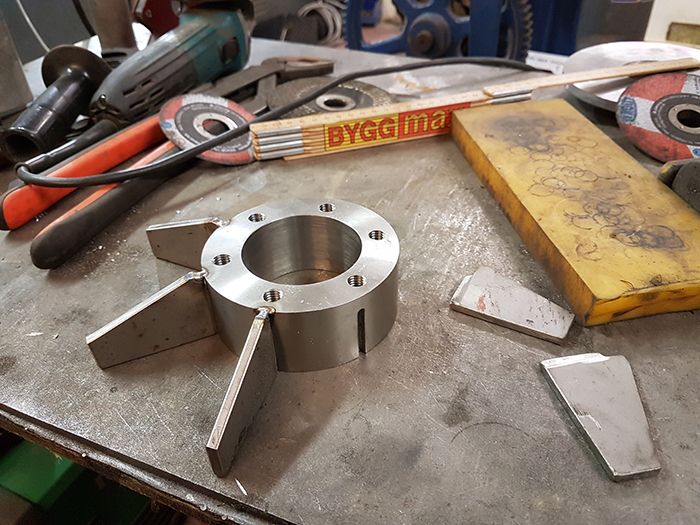 I welded the spokes to the hub and turned them down to the correct diameter in the lathe so they would fit inside the 200mm stainless fan cover. 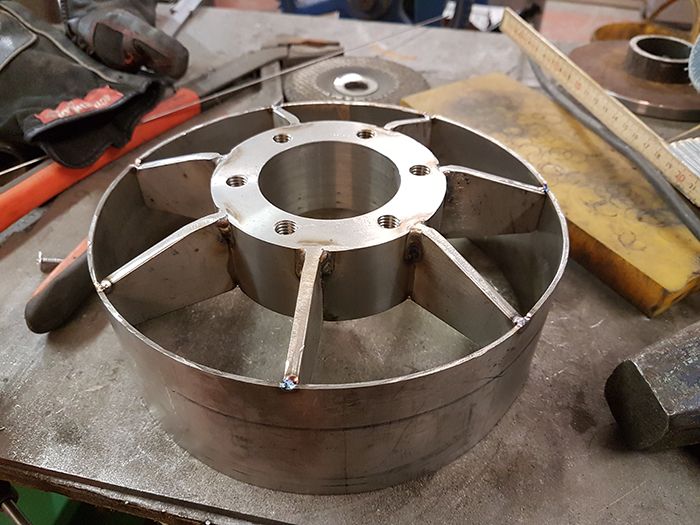 There is still work to do on the part, smoothing out the air intake etc but now it is at least in place. The hub bore has a press fit to the shaft tunnel and I will secure it further with the TIG welder later. 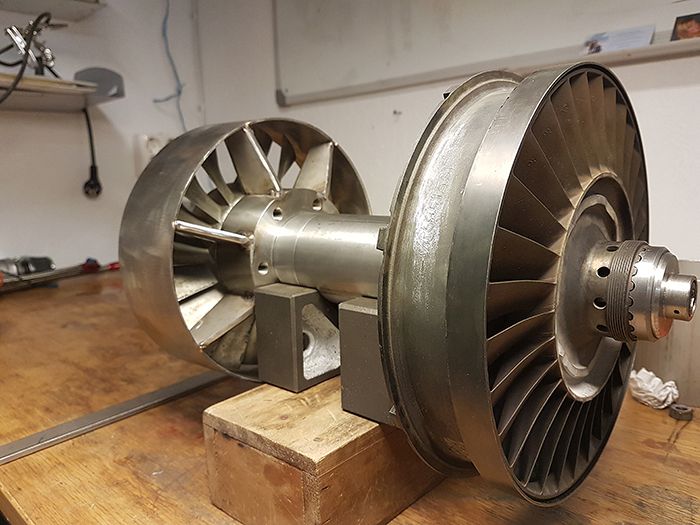 The business end. A tapered insert will later be made and fitted around the fan to get the blade tolerances right. 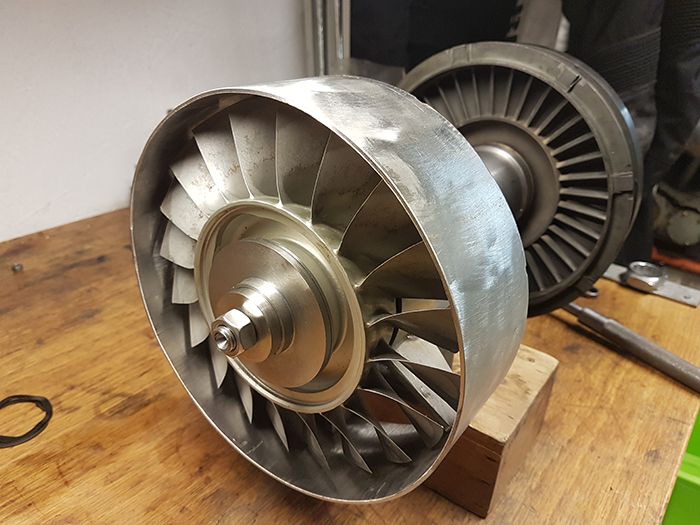 Cheers! /Anders |
|
|
|
Post by Johansson on Nov 20, 2017 17:46:38 GMT -5
Hi Anders Saw your pics on Facebook :-) How are you going to "manage" the fan tip clearance , the taper is in the "wrong direction" for easy assembly , perhaps an abradable sleeve , the axial fan needs minimal clearances for good efficiency . Bummer about your pics :-( Cheers John Hi John, I guessed that some of you would have seen them already. I plan to fit the tapered insert from the rear and secure it to the stainless cover somehow, I am tempted to 3D print it from nylon since it then will be softer than the fan blades in case of a slight rub. Depends on how much heat that will be soaking in from the afterburner, but with the fan spinning for a while after an AB run I think everything will be very cold so a nylon insert should work. Cheers! /Anders |
|
|
|
Post by racket on Nov 20, 2017 17:58:23 GMT -5
Hi Anders
Yep , nylon should do the job , if not , make it out of wood ;-) half a dozen self tapping screws through the outer metal into the sleeve should hold it in place .
Cheers
John
|
|
CH3NO2
Senior Member
Joined: March 2017
Posts: 455
|
Post by CH3NO2 on Nov 20, 2017 18:48:31 GMT -5
Hi Anders, In your engine setup, will you be ducting the fan to an afterburner? That would be incredibly awesome to see. It'll make one hell of a blowtorch. What is the expected afterburner chamber pressure and mass flow rate? Lambda 1 will make a verry big blast!  Tony |
|