|
|
Post by slittlewing on Jul 28, 2018 12:51:09 GMT -5
Small construction update.. my friend has tig welded the tailpipe for me and I have completed the final weld to the turbo flange with it in position: 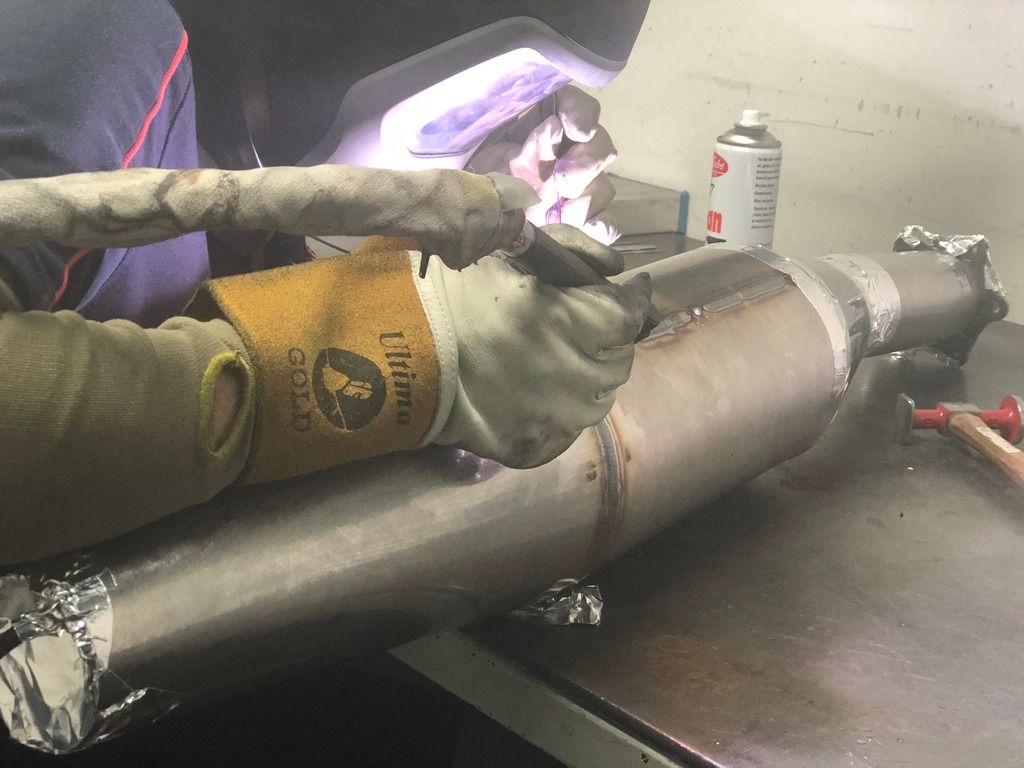 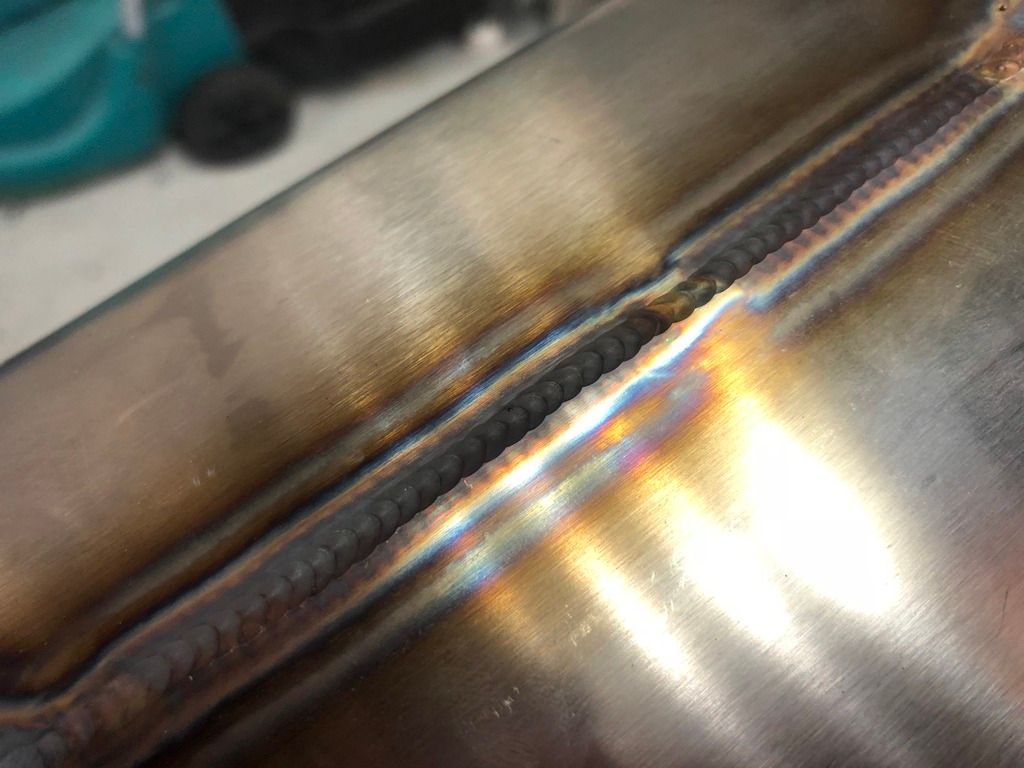 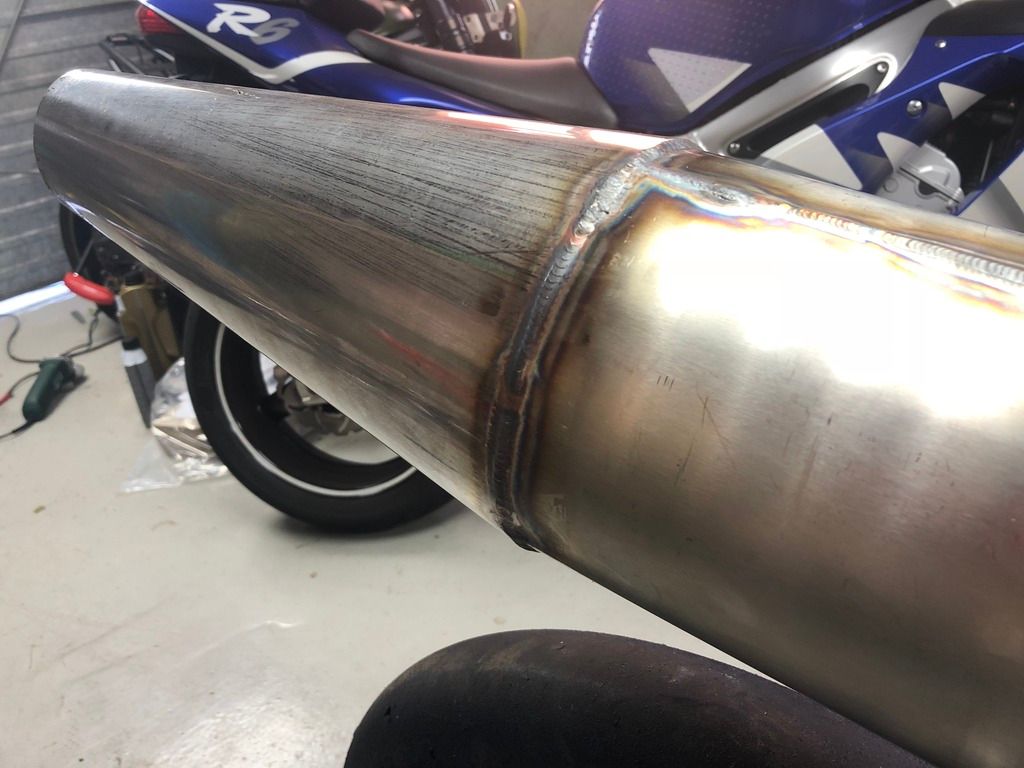 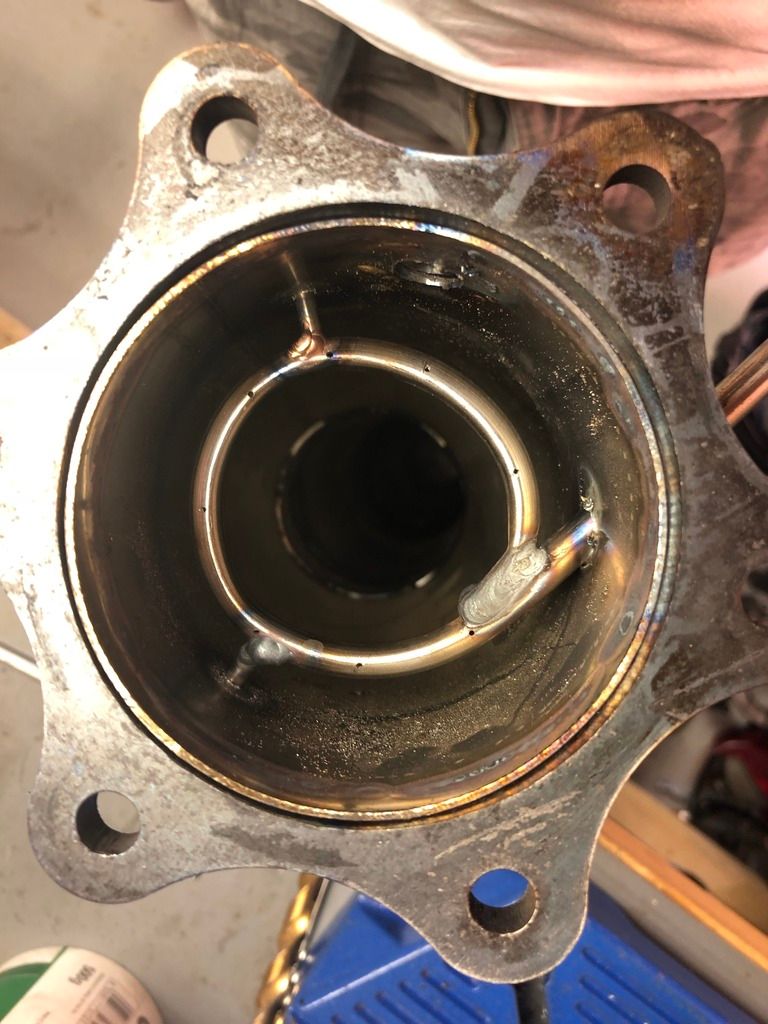 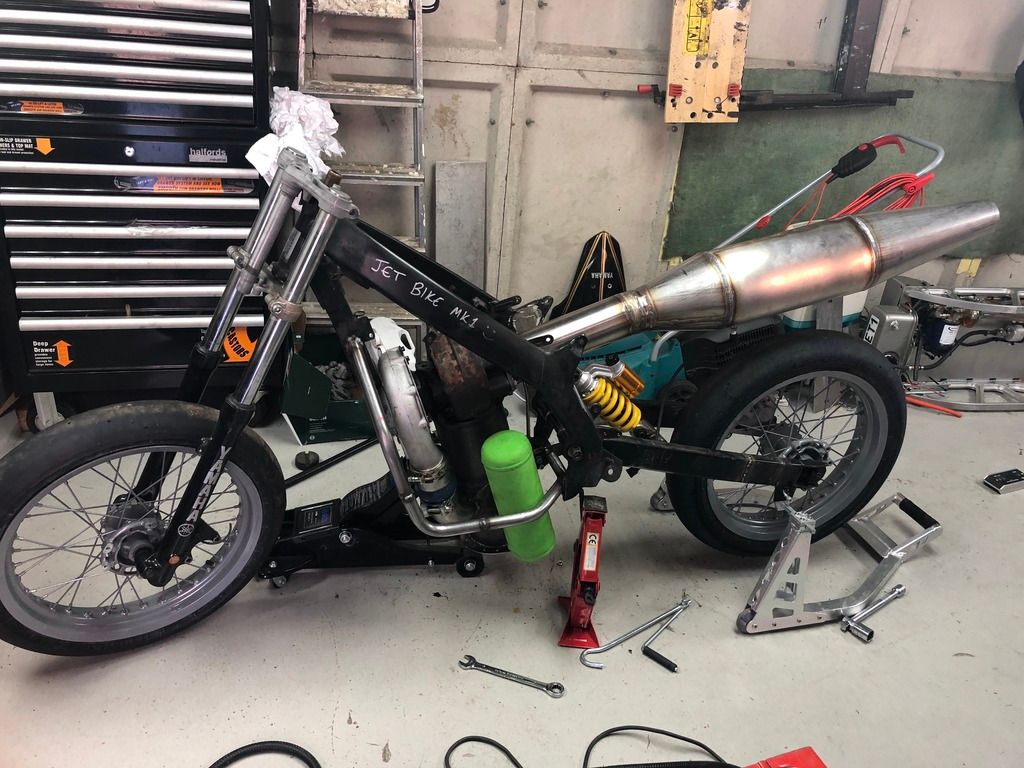 A couple of questions: For support of the tailpipe, would a couple of motorcycle exhaust springs from it to the seat subframe be suitable? Or I could do one really long spring from the seat subframe all the way around the pipe in a loop? I guess I just want to support the weight for when it’s raging hot and potentially “soft” For the TOT thermocouple, is 4.5mm probe a good pick? Or could go 3mm Cheers Scott |
|
CH3NO2
Senior Member
  
Joined: March 2017
Posts: 455 
|
Post by CH3NO2 on Jul 28, 2018 22:19:16 GMT -5
Motorcycle exhaust springs are a good first choice.
Although they are not designed for after burner temperatures they are will accommodate for thermal expansion, vibration and shock.
Tony
|
|
Deleted
Joined: January 1970
Posts: 0
|
Post by Deleted on Aug 4, 2018 4:47:28 GMT -5
Hi
Its coming together real nice.... so looking forward to seeing it run
Nice work
All The Best
Andy
|
|
|
|
Post by slittlewing on Aug 6, 2018 13:19:01 GMT -5
So on Saturday, I fired up the new engine! It was not straightforward, after confirming with Andy I realise that my spark plug is in an oversized hole through the flame tube and is being “shrouded” by fresh air, however we got it going eventually, video below:
There are several other teething issues:
Fuel lines melted where they attach to top cap and nearly caused a big fire. Need to use copper pipe for 0.5m or so!
Cheap eBay thermocouple was useless and didn’t work so I couldn’t get TOTs
Lost oil pressure as battery died after hours of fire up attempts but I shut it down within 10 or 15 seconds and I think the turbo is still ok
Oil got very hot very quickly so need an oil cooler (expected)
Annoyingly kero didn’t work, I need to investigate why!
Spark plug mod required (weld boss to flame tube)
Otherwise it was great haha, made 2 bar boost on propane and I’m sure it could do more (but I dont know what the limit will be!!)
All the best and thanks for all the help,
Scott
|
|
|
|
Post by slittlewing on Aug 12, 2018 9:45:51 GMT -5
So today I have stripped down the combustor to have a look and investigate the lack of ability to run on kero... here’s what I found!! 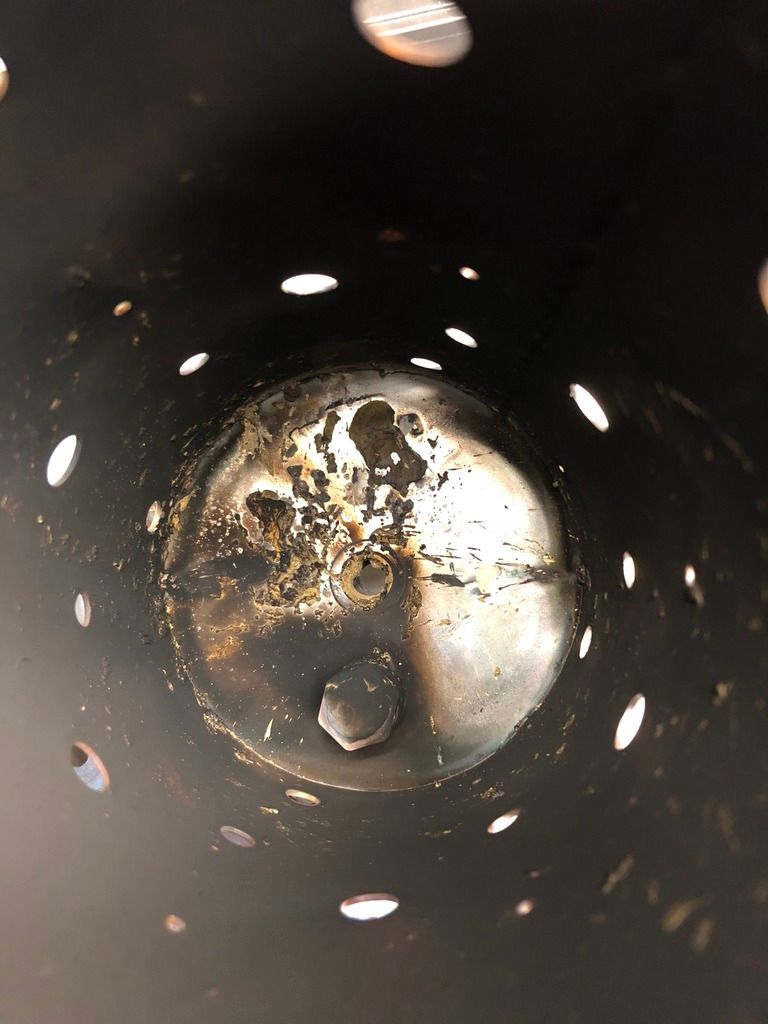 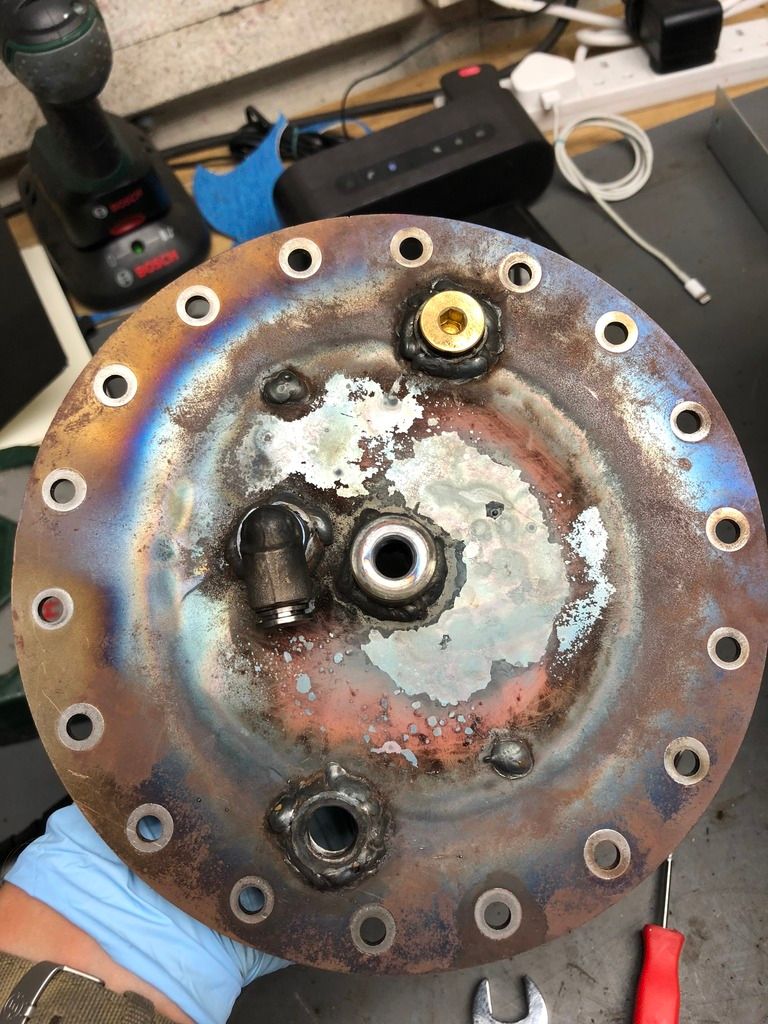 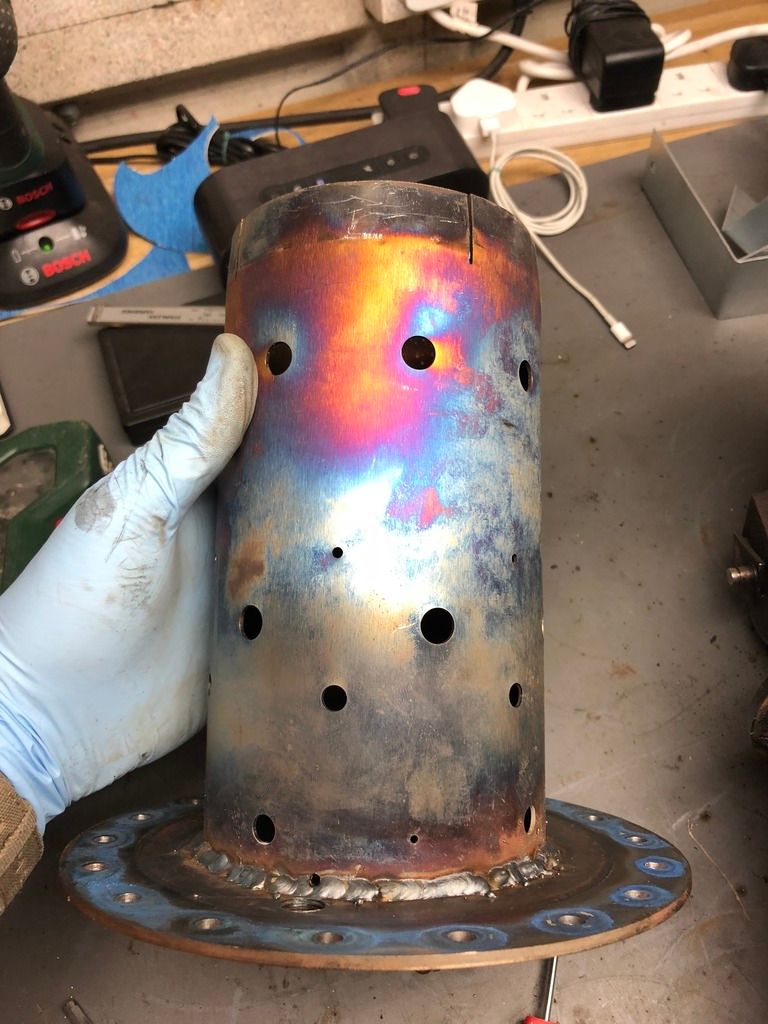 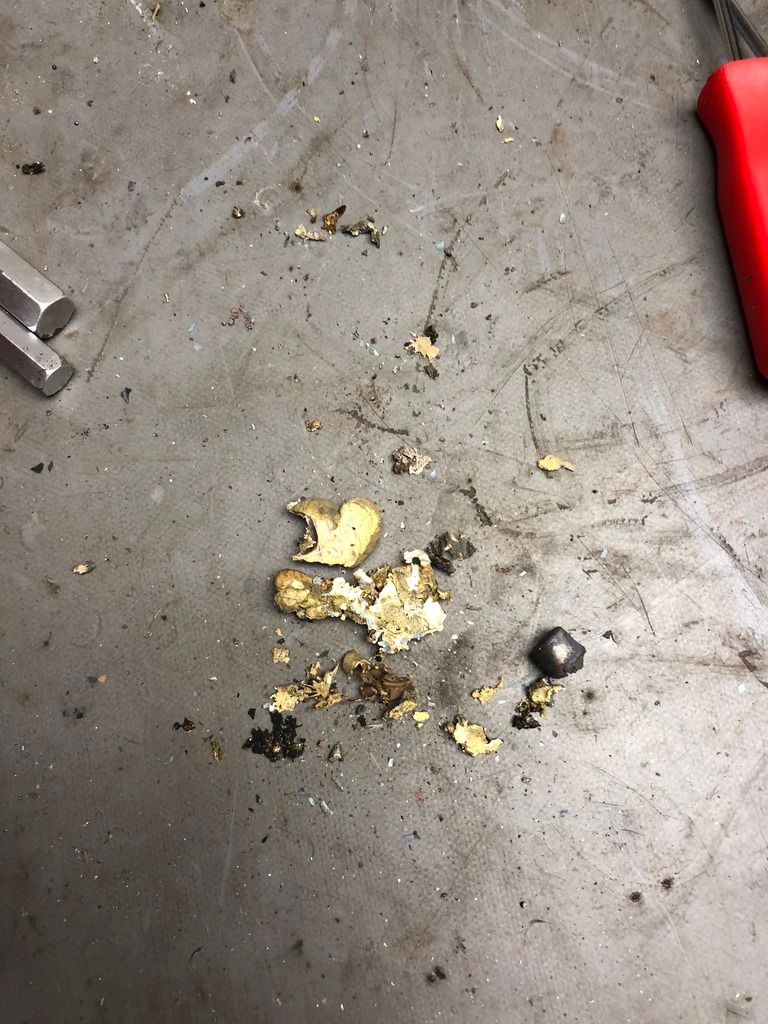 So amazingly the danfoss nozzle has been completely obliterated and melted whilst running on propane! Has anyone ever seen this before? My options seem as follows, any advice would be appreciated! - increase the cooling holes around the top cap (this would go away from the ideal area percentages) - fire it up briefly on propane only and then move to kero on the basis that the nozzle would have cold fuel running through it which would cool it, along with the end plate via conduction -alter the propane injector (I don’t think this will do anything as I guess it’s been killed from radiated heat rather than direct flame contact) Still a ways to go and still plenty of learning to do hahahah Cheers, Scott |
|
|
|
Post by racket on Aug 12, 2018 16:28:53 GMT -5
Hi Scott
LOL.....It gets hot inside the flametube , uncooled brass hasn't a chance of survival , only use the propane as a pilot light for the kero and you should be OK .
Depending on how you are injecting the propane there could be considerable recirculation of the flame back to the top plate and impacting the kero nozzle .
The "basic" DIY combustor, such as you are using, all run with hot end caps of varying degrees , so yes, get the kero flowing as soon as you hear the propane ignition "pop" , then turn off the propane( along with ignition) as soon as idle is achieved .
Its probably better to use stainless steel nozzles if possible .
Don't change any flametube holes .
Cheers
John
|
|
|
|
Post by enginewhisperer on Aug 12, 2018 18:46:26 GMT -5
It's lucky the combustor can points downwards, or the whole nozzle would have gone through the turbine!
|
|
|
|
Post by slittlewing on Aug 14, 2018 14:04:45 GMT -5
Cool cheers John, bang on the money i think - I’ll get a monarch PLP stainless nozzle. I may also make a stainless “heatshield” plate to sit 1cm above the end cap and shield it from radiated heat. I think I will also make some thick fillet braces on the outside of the top cap as it looks to have deformed a bit under pressure at temperature.
Lucky it was pointing down indeed hahaha!
I’ll report back in a week or two for another kero attempt...
Cheers
Scott
|
|
|
|
Post by Johansson on Aug 14, 2018 17:17:56 GMT -5
We had a similar problem with one of our earlier jet kick sleds, there we used a Danfoss brass spray nozzle for preheat and regular syringe fed evaporator tubes for the main fuel.
During the first run we shut the preheat fuel off once the engine was running, and after disassembly we found the Danfoss nozzle completely melted.
After fitting a new nozzle we kept the preheat running all the time to get a fuel flow through the nozzle for cooling, never had a problem with it again.
Cheers!
/Anders
|
|
|
|
Post by slittlewing on Sept 23, 2018 12:28:50 GMT -5
Glad to hear I'm not the only one then!! So I had to wait a couple of weeks to buy the new parts, and then I had a couple of busy weekends and couldn't fit them! Finally found the time today. I have drilled through the combustion chamber wall and put a 50mm steel tube which mates with the final flame tube section. I fitted a spark plug boss in this, hopefully the ignition problems will now be cured (no more fresh charge air shrouding the plug). I have fitted a stainless 13.50 PLP Monarch nozzle and static tested into a bucket with kero - the fuel pressure seems good and controllable with my PWM controller. The top cap distortion due to being very hot at pressure had me a bit concerned so I have fitted 5mm ribs to strengthen it! I have a new BSP solid brass banjo with 8mm compression fitting for the propane feed, and new banjo for the fuel feed. I will fit copper fuel lines and hopefully avoid the melting scenario I had previously!! Hoping for the next test fireup in a week or two, kero running is the aim!!!  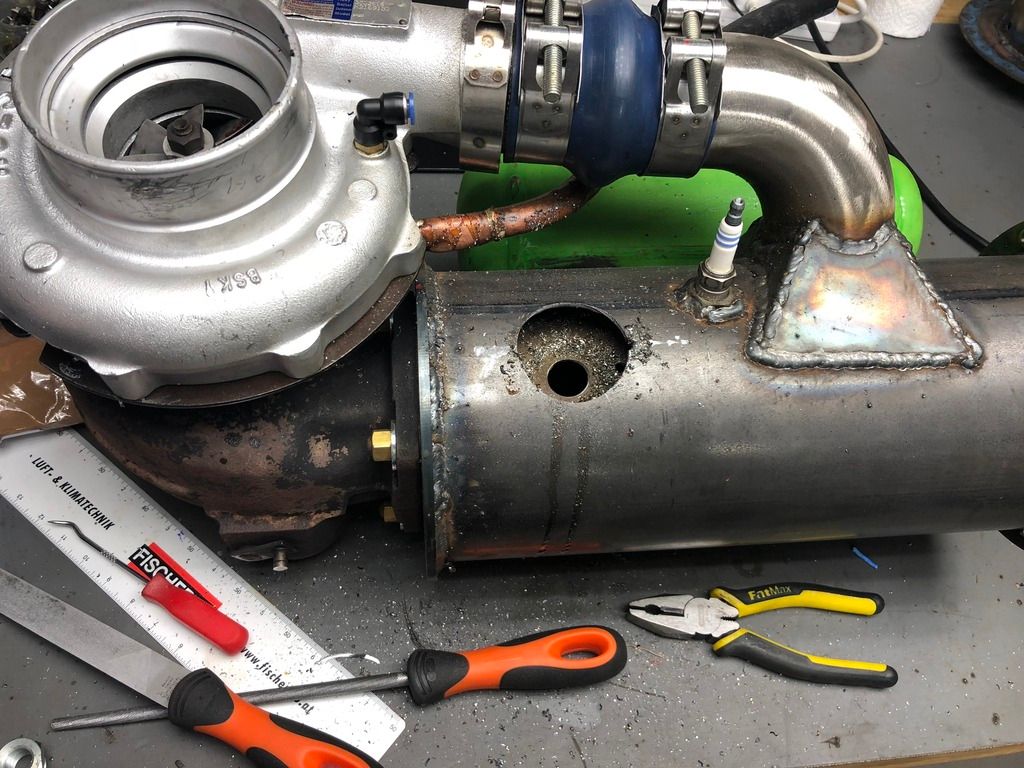 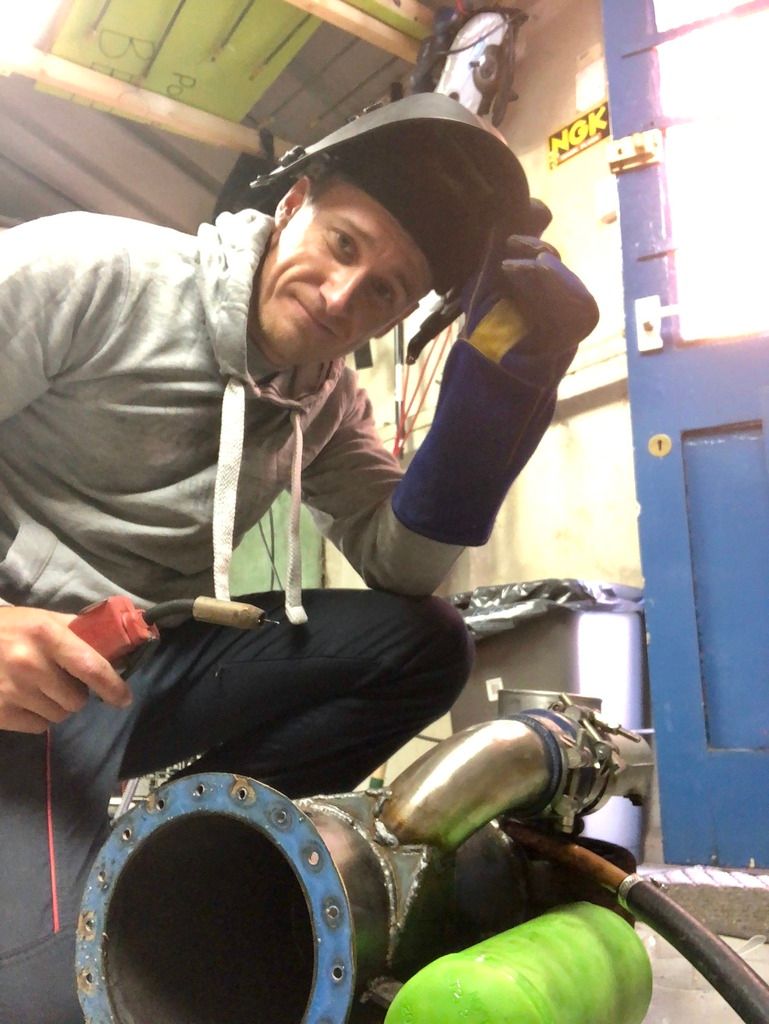  |
|
|
|
Post by Johansson on Sept 23, 2018 16:12:05 GMT -5
Looking good, kero running is the sheiiiiiit!  |
|
|
|
Post by slittlewing on Sept 30, 2018 4:02:07 GMT -5
Finally a proper update... thanks to the guidance on this forum I had my first successful kerosene running and after burning yesterday! Was so pleased, after the redesign and building over the last year. With the relocated spark plug, the engine now fires up really easily on propane. The switch to kerosene is pretty easy after finding an “idle” setting (2bar kero = 1bar boost). I checked after the first couple of runs and there is no pooling of kero inside the chamber  I then managed to light the AB on the second attempt (tried with too low fuel pressure to start with and the main combustion died). First time it ran beautifully, subsequent run was fluttering on and off, then good again. Not sure what makes the difference but I guess I need to find the “sweet spot”. New thermocouple on turb outlet showed low temps (450-500) at 1 bar boost idle, and 600ish at full fuel flow. Unfortunately it died soon after, I think the Big Bang explosion on fire up is shocking and killing them? I was using a 4.5mm TC, about 20mm poking inside the tailpipe. It’s now time to tick the “testing” box and finish the bike, move all the pumps over etc. Then work on arduino control. Still a long way to go!! Thanks all for your input and helping me get to this stage! |
|
|
|
Post by racket on Oct 1, 2018 1:41:15 GMT -5
Now that got a smile on your face :-)
Yeh , if the spark plug is situated down the bottom of the flametube you'll get those big bangs as the combustor full of gas goes off , if the plug is situated higher theres less fuel to explode and its"softened" by the air further down .
|
|
|
|
Post by Johansson on Oct 13, 2018 14:51:00 GMT -5
Congratulations! I know the feeling of a successful first run, you can´t stop smiling for several minutes afterwards.  |
|
|
|
Post by slittlewing on Oct 14, 2018 11:44:55 GMT -5
Thanks guys, and John.. superb explanation for the "big bang", makes total sense. I am not going to move the plug again so I will have to try a 6mm tehermocouple but not protruding very far! So now the engine is "proven" or at least initially tested, its time to move onto finishing the bike. This will involve transferring all the pumps, battery etc over and doing the heatshielding. Lots of metalwork to do. Then Arduino control. Unfortunately "pocket money" is non existent at the moment, so I cant get on with purchase of Oil cooler/filter/laser cutting brackets and heatshields. As today was a rainy miserable sunday in the UK, I thought I would do an outstanding job which is free as I have the materials from a previous project.... Most peoples reaction to the design is that it will burn my arse/balls, but with heatshields this doesn't worry me (yet). My main concern has been the proximity of plastic fuel tank to the turbine (approx 25mm). I couldnt drop the turbo lower as the combustor would be too close to the ground. I also couldnt tilt it more horizontal due to the need for a shock support beam. 25mm gap: 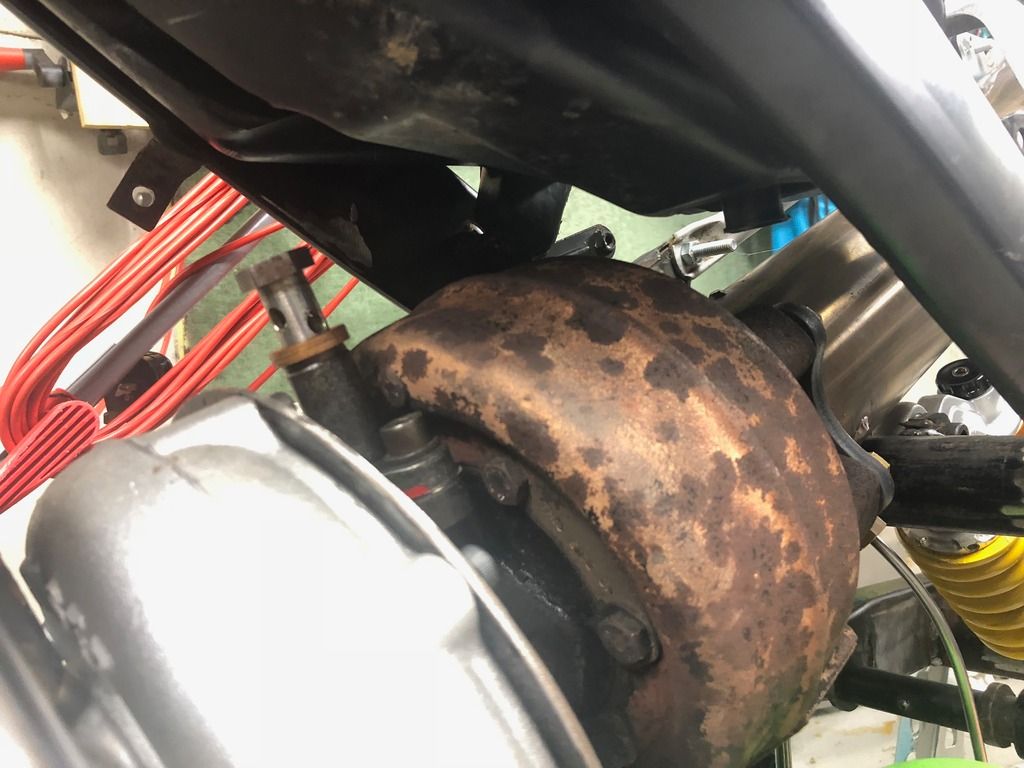 Obviously if the plastic tank melts and drops 10L of kero over the turbine, the consequences would be very very bad. So my plan is (in addition to heat shielding the turbo itself) to skin the bottom of the plastic fuel tank in carbon, thus creating a reinforced tank base that cant melt. Here is my "quick and dirty" carbon skinning process, which does not need a mould. I have done it before on a motorcycle swingarm with good success. I wouldn't recommend it for structural parts or anything you want to have perfect looks, but for this sort of job its perfect and quick. First step, clean the tank bottom and apply PTFE coated tape, which the carbon wont stick to. This means you dont need a perfect smooth and polished mould:  Then make patterns for the cloth from paper:  Then wax the PTFE tape. You are supposed to apply 7 layers on a professional mould , I make do with 1 (its on ptfe tape anyway) Cut carbon (use masking tape to stop fibres splaying). The carbon I am using is cheapest available "second grade" from easycomposites, £10 a metre. 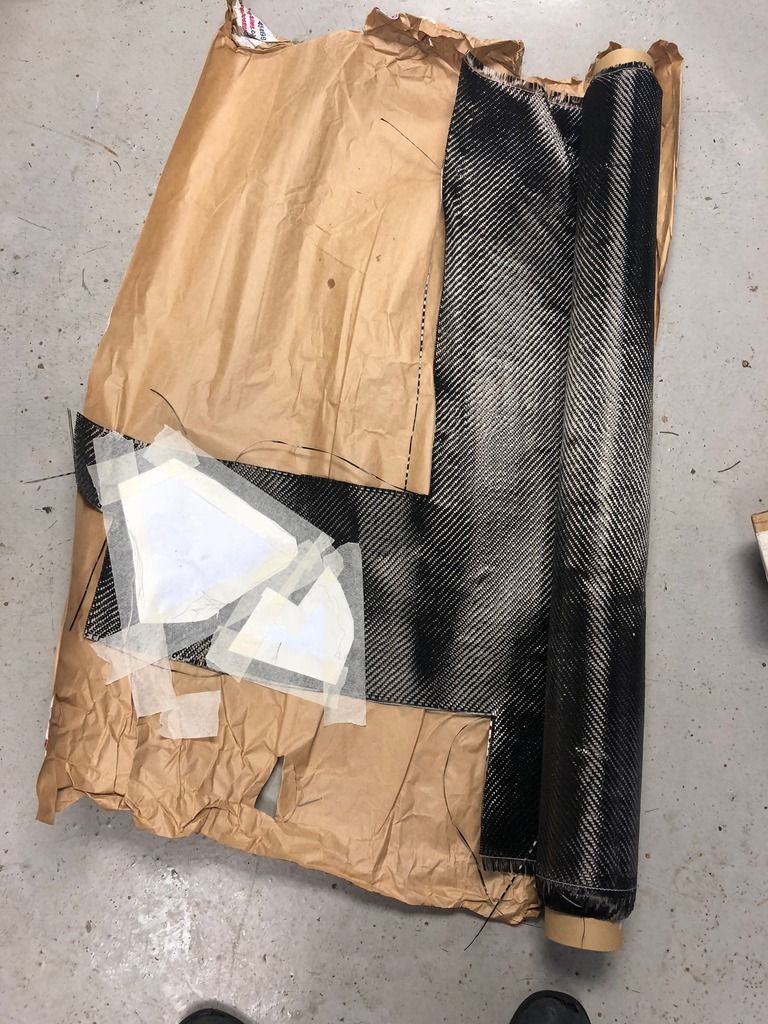 I did two layers of carbon for this, which should be enough for a reinforcement to the tank:  Now mix resin with the Mrs Kitchen Scales. The resin is about 6 years old so this is a gamble!! 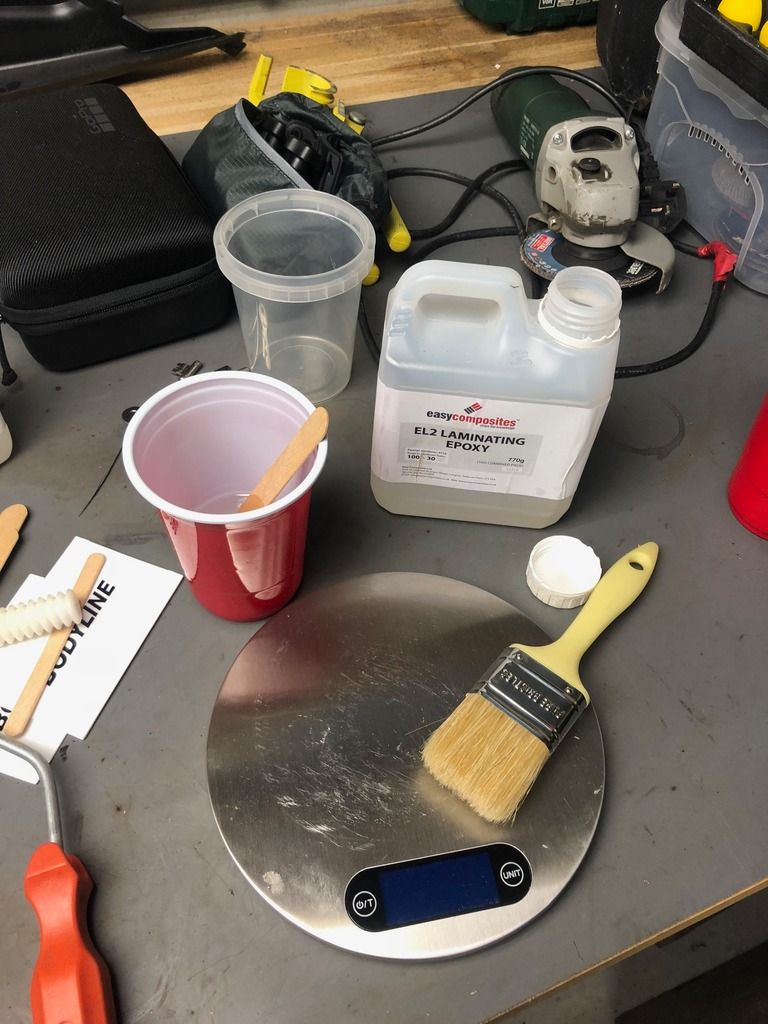 Then paint the mixed resin over the part, stick down a pattern at a time and use brush stippling action to flatten and remove air: 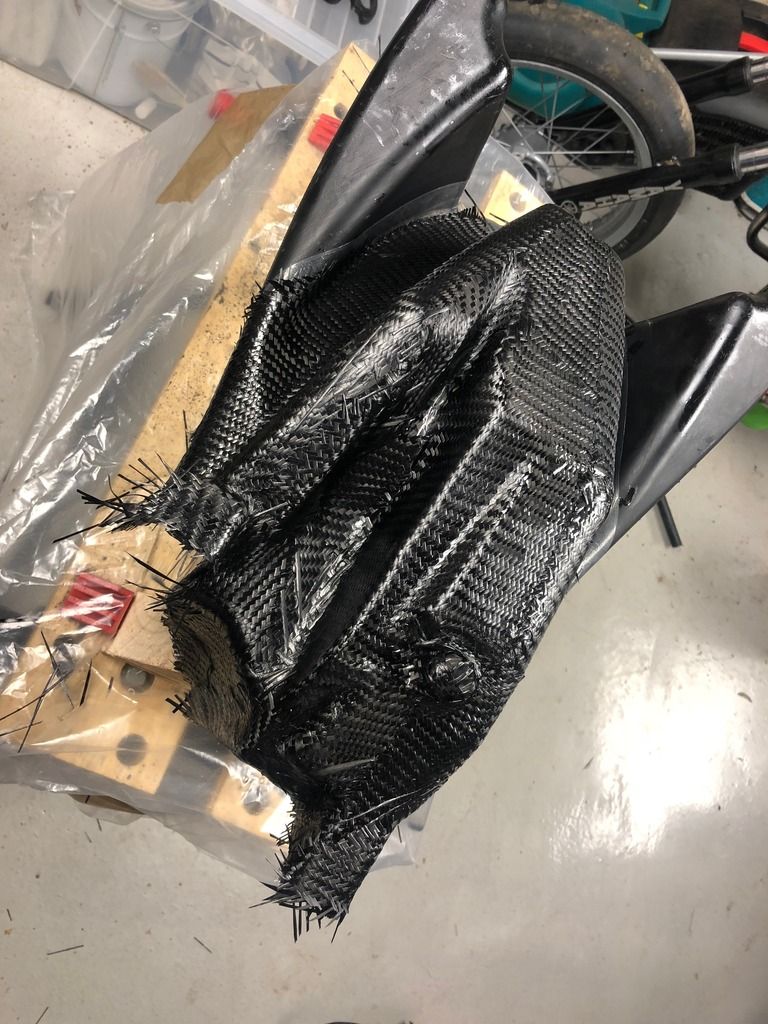 I used some additional strips approx 40mm wide to strengthen a few areas, after the second layer of all the carbon: 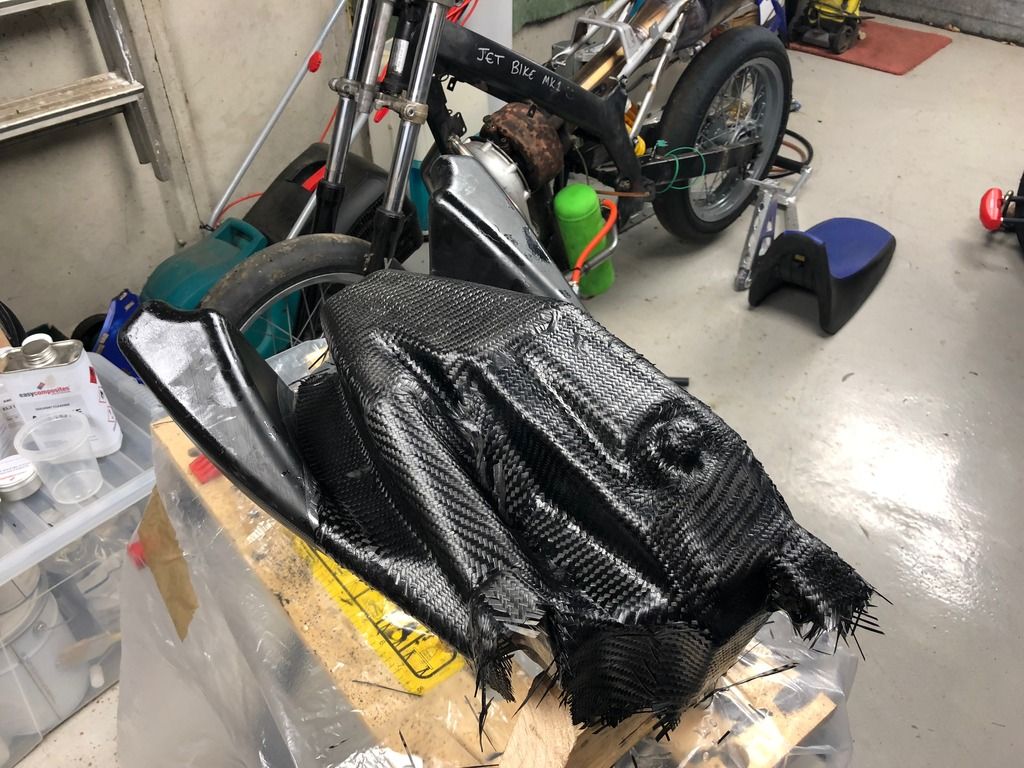 The total time was approx 5 hours, I will try breaking the carbon piece away tomorrow night, and see how badly it goes haha. I went round multiple sides with overhangs on some so it could be a bitch to get off (numpty error). To be continued.... |
|